Make the Best Italian Ciabatta Bread
Rustic Ciabatta: Our Daily Bread from the Eighties
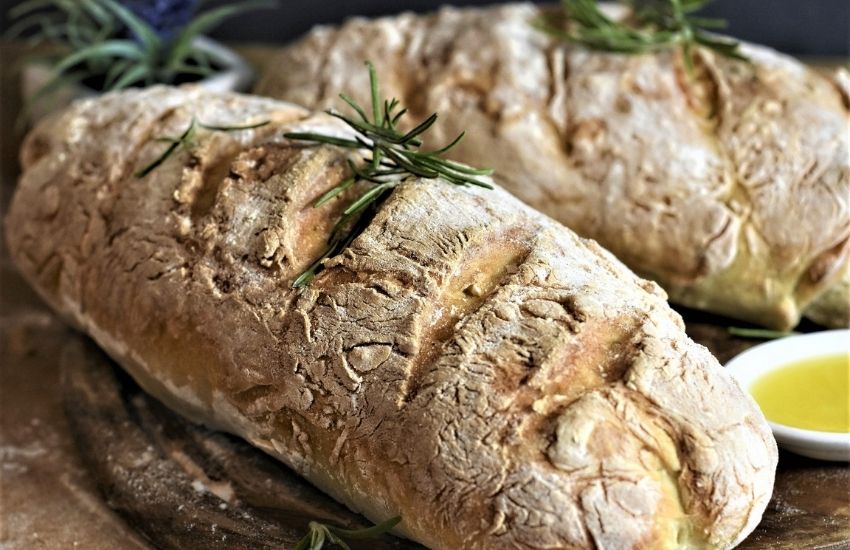
Bread might be one of the oldest foods created by humans, but people will always invent new varieties, especially the French or Italians. It is the case of rustic Italian ciabatta, our daily loaf from the eighties, which at nearly fifty is one of the youngest assortments of bread that found worldwide fame in just a few years from being invented.
How has the delicious slipper-shaped bread with a smooth, crisp crust and porous, slightly humid interior come to be? It seems we owe it to the Italian rally pilot turned miller, Arnaldo Cavallari. The man experimented with flours until he obtained a 70% wet dough he shaped like a slipper before baking it (hence the name; la ciabatta in Italian translates as slipper).
The story happened in 1982 in the quaint and colourful city of Adria, not far from Venice, on the Adriatic coast. A year later, Cavallary patented the name. In 1985, ciabatta became famous in Britain, and by 1987 it was already mass-produced in the USA.
You can find a quick history of this beautiful and tasty bread here.
Before the eighties ended, ciabatta was already a much-appreciated worldwide bread, used mainly for sandwiches (panini in Italian).
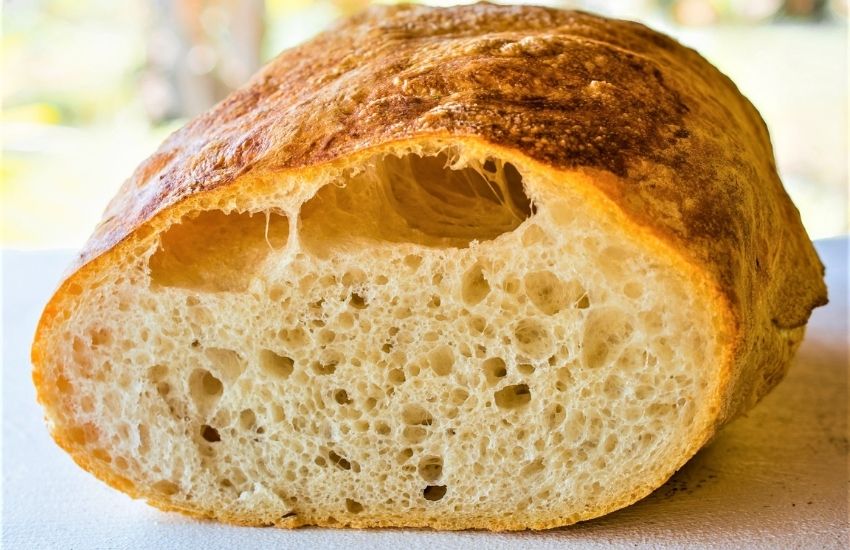
To make the perfect rustic ciabatta bread, you will have to follow a few steps. Firstly, know that it needs time to rise, so it is better to prepare the biga (pre-dough) the night before. Also, while making the final dough, you will have to allow it to rest and rise again for a much shorter period this time.
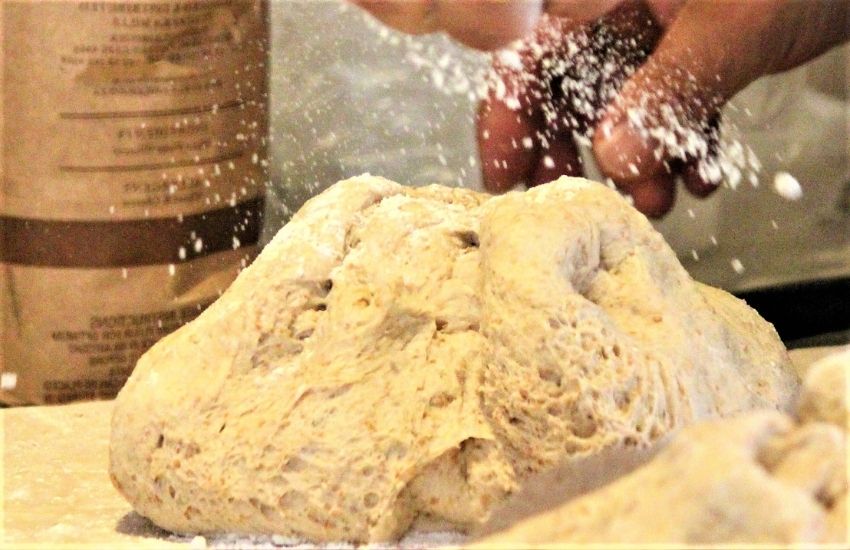
Secondly, because it is a wet dough, it might be sticky. If you use an electric kneader, it will do all the work for you. If not, I recommend using a pair of scrapers (you will have to flour them frequently so that the dough does not stick).
Ingredients
You need to make two types of dough for a perfect Italian Ciabatta: a mother dough (or a pre-dough, called biga in Italian) and a wet dough.
For the pre-dough (biga)
Flour (white/bread flour/Ciabatta flour)
Lukewarm water
Yeast (fresh or dried active, both work)
Mix the ingredients gently in a bowl until smooth, cover with clingfilm and let it rise for about twelve hours (preferably overnight) at room temperature (approx. 18-20°C)
For the wet dough
The raised biga
White bread flour (or Ciabatta flour)
Lukewarm water
Yeast (either fresh or dried active)
Organic extra virgin olive oil
Rock or sea salt
How to make rustic Italian Ciabatta bread
Dissolve the yeast in water and pour it over the pre-dough. Mix gently, then add half of the flour quantity and mix again. This dough will be very sticky. It needs to rise – cover the bowl with a tea towel, and rest for two hours. When raised, you will notice lots of tiny air pockets, which you should not break.
When the two hours are up, add salt and oil to the dough and mix it. Add the remaining quantity of flour and knead until smooth. Because the dough is humid and elastic, you can pull, fold and repeat a few times. When you’re done, cover again with a tea towel and let it rest for another hour.
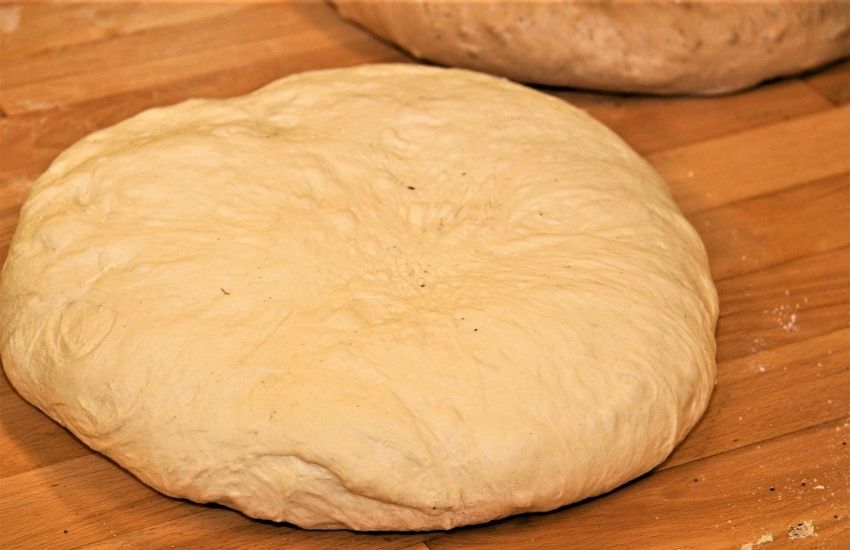
When the resting hour is up, you can shape your bread. This quantity of dough is enough for two loaves.
Before you start, make sure that you spread enough flour on the working table.
If you have scrapers, now is an excellent time to use them; if not, your hands will do. Just flour them generously.
Split the dough into two even parts, give them a cylindrical shape and roll each of them in flour. Do not mix again, as added flour will change the consistency, and you still want a wet dough.
Pull from the edges until you obtain the slipper form. The thickness should be around 5-6 cm. Do not press down (it will deflate and ruin all those hours of raising!). Elongate the dough until you get the size you want.
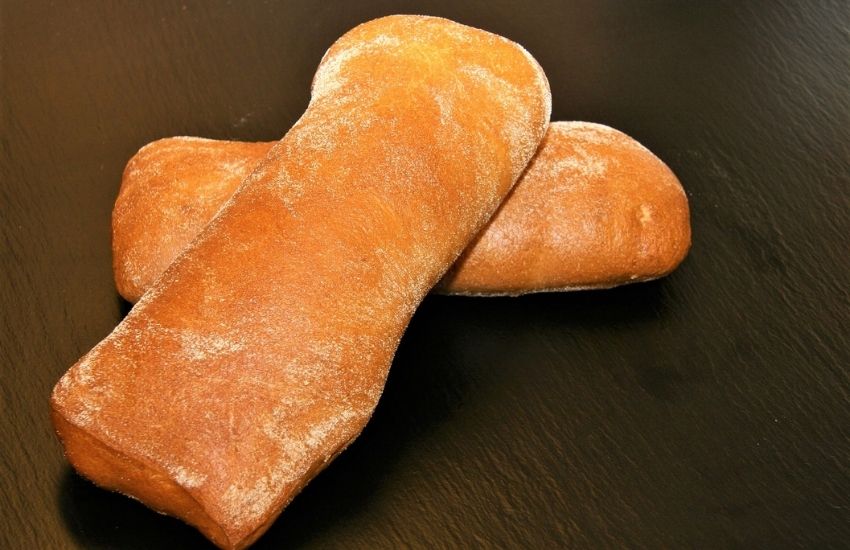
If you decided to use Ciabatta for panini, divide the dough into smaller parts. From this quantity, you should obtain about 10-12 pieces.
Put a sheet of greasy baking paper on a tray and place the bread on it, leaving about 10 cm between the two larger pieces (about 3-4 cm for the panini). Allow rising for another 45 minutes.
Meanwhile, preheat the oven to 225°C (200°C fan oven or gas mark 6).
Bake the Ciabatta for about 30-40 minutes until the crust is golden in colour. Allow cooling before you prepare your sandwiches or bruschette.
If you have a bread maker that makes artisan bread, you can make ciabatta by following the steps and respecting the quantities in the recipe provided in the machine’s booklet. The bread will not have the slipper shape as the hand made one, but it will still be tasty.
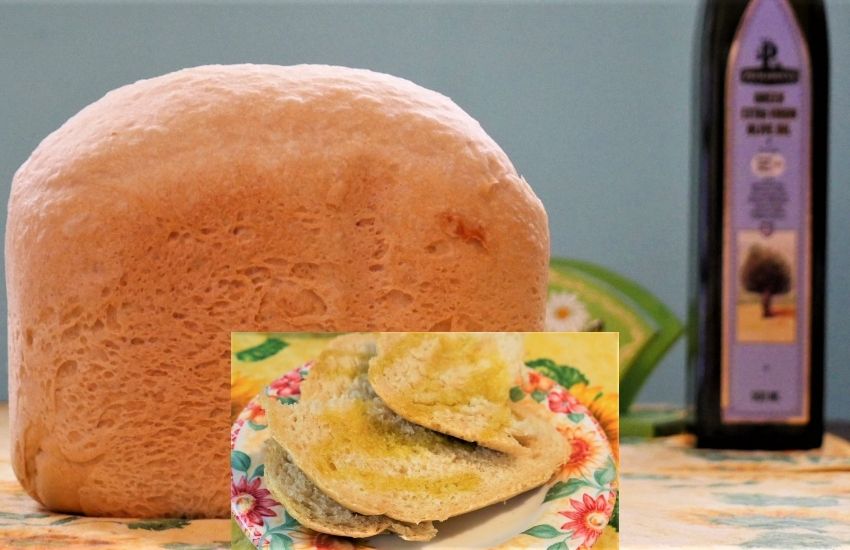
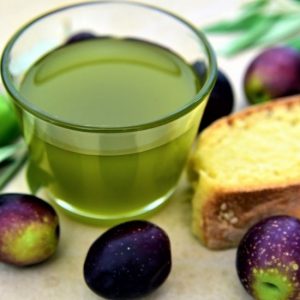
My favourite way to enjoy Italian Ciabatta bread is by spreading quality extra virgin olive oil on a thick slice. Heavenly! What is yours?
Buon appetito!
Italian Ciabatta Bread
Equipment
- Electric kneader
- Medium bowl
- Large mixing bowl
- Bread maker (optional)
- Plastic scrapers
- Baking tray/parchment
- Measuring scale
Ingredients
For the pre-dough (biga)
- 300 g bread flour
- 300 ml lukewarm water
- 5 g yeast I prefer dried active, but fresh works well, too
for the wet dough
- 1 biga after it raised for 12 hours/overnight
- 700 g bread flour
- 350 ml lukewarm water
- 15 g yeast fresh/dried active
- 4 tbsp olive oil organic, extra virgin
- 1 tsp salt sea/rock
Instructions
Biga (pre-dough)
- Mix all the ingredients in a medium bowl, cover with clingfilm and allow it to rise overnight (12 hours).
Wet dough
- Place the biga in a large bowl or kneader bowl.
- Melt the yeast in the lukewarm water and add it to the bowl. Mix gently.
- Add half of the flour quantity and continue mixing. This dough is sticky and needs to rise. Cover with a tea towel and let it rest for two hours. While rising, it will form air pockets that should not be popped.
- When the two hours of resting time are up, add salt, oil and the remainder of the flour and mix again.
- You will obtain a humid and elastic dough. Pull and fold a few times on the working table.
- Place back in the bowl, cover with a tea towel and let rise for another hour.
- When the resting hour is up, shape the dough using scrapers or well-flowered hands.
- Split the dough into two parts, give each a cylindrical shape and roll them in flour. There is no need to knead again. Ciabatta is a wet bread, and extra flour can change the consistency of the dough.
- Pull from the edges until you obtain a slipper form, about 5-6 cm high. If the loaf is too high, pull the edges until obtaining the desired shape rather than pressing down.
- If you chose to use the Ciabatta for panini, divide the dough into 10-12 smaller pieces.
- Place a greasy baking paper on the tray and preheat the oven to 200°C fan oven/225°C static/437°F/gas mark 6.
- Place the bread on the baking tray. Leave about 10 cm between the loaves or 3-4 cm between the panini.
- Allow resting for another 45 minutes.
- Bake for 30-40 minutes until golden and cool before preparing sandwiches or bruschette.
Notes
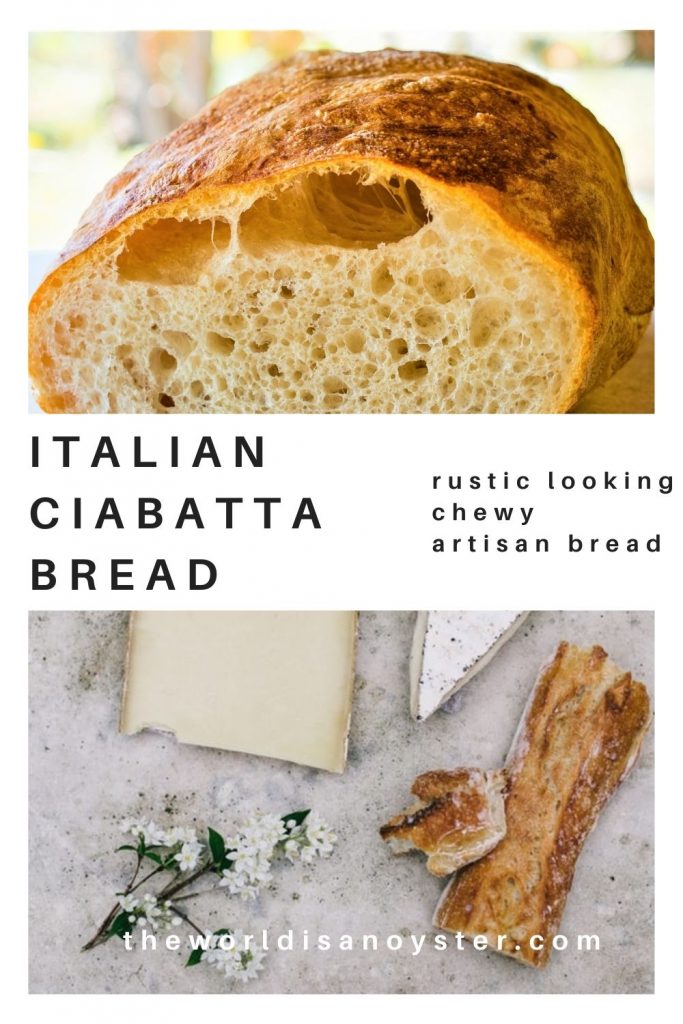
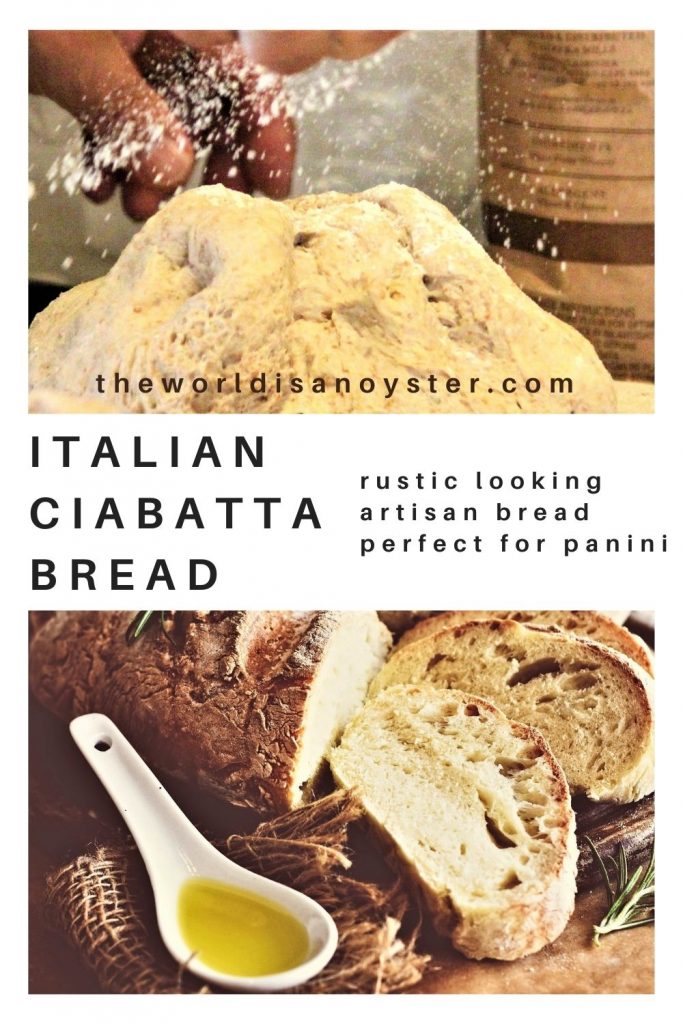
I hope you enjoyed reading this Italian Ciabatta bread recipe. Please share the love by saving a pin to your baking boards; it helps this blog grow and motivates me to write more for your enjoyment! Thank you!




Ciabatta is my favorite bread!!! This looks heavenly, can’t wait to make it!
Glad to see your recipe, I do buy Ciabatta bread its now time to make my own.
I used to buy ciabatta for a long time. I have to admit that it is not a bread I make often, but each time I invest time into making it, ciabatta turns ut amazingly good (and it lasts a very short time, too!)
I never make my own bread, I’m so excited!
thanks for sharing how to make this bread. the easy instructions are helpful
I absolutely love Ciabatta bread and when I found it, it comes home with me. Thank you for sharing your recipe. I must give it a go. Looks and sounds simple to make.
Thank you for sharing.
I love baking bread. This will be my new challenge and I am sure it will be well received by my hubby who is Italian.
Love a good ciabatta! Thank you for the recipe
I love Ciabatta, especially when it’s filled with those nice air pockets like the one on your photos, well done!
How much yeast should I use for this recipe, when working with fresh yeast?
For these quantities, 14 g of fresh yeast should work OK. I always used dried yeast, but please let me know how it turns out with fresh.
Yum! This is absolutely delicious! So excited to make this.
Homemade bread is pure comfort food to me!
This bread is amazing, thank you!
This Italian Ciabatta Bread looks so good, I can’t wait to try it. Thanks for the recipe!
Ciabatta bread is the perfect bread to me!
This bread is perfect!
Fresh baked bread is my favorite! This is an excellent recipe!
I love the detailed instructions. For someone who has only made bread a few times it is a little intimidating, especially when it needs specific resting periods.
Can’t wait to try it!
I love the chewiness of ciabatta bread! This was so delicious!
It turned out so good! Thanks for the recipe!
I love ciabatta bread. I’m going to give your recipe a try.
Ciabatta is my favorite bread!! I can’t wait to try this!
I’ve never had ciabatta bread before, but it looks amazing. I love the crispiness on the outside and the fluffiness inside. I’ve meant to learn to bake bread lately, so I think this will be a great start for me. Thanks for the recipe!
This bread turned out so great! The outside is perfectly crusty with a soft, fluffy interior. Delicious!
Yum! Ciabatta bread is one of my favorites and this was such an easy recipe and turned out so delicious!
I love ciabatta bread and now I can have it whenever I want. Yay!!
That looks simply amazing and delicious. Thank you for sharing. I was intimidated to try making bread, but you are making it look easy therefore I will try it in my own kitchen.
Ciabatta really makes the best sandwiches. I need to try this to have homemade bread!
I never knew it is so easy to make ciabatta bread! Such a great recipe, thanks for sharing!
I am just learning how to make bread and I am so glad I found this recipe. Homemade ciabatta is definitely the way to go!!
I love experimenting with baking bread from around the world but I have yet to make an Italian Ciabatta! I really need to give this a try! 🙂
This looks great!! Will have to try this out 🙂
I hope you will, even if it takes time and patience. Buon appetito!:)
Lucky I come across this page, I can make my own from your recipe instead of just buying from the shops. Hope they have the right ingredients here. Thanks for the recipe!
This Italian bread looks really good! thanks for sharing this recipe and I’d like to try this one!
Im always fascinated with this kind of bread and how to do it. Thanks for sharing this recipe.
This looks so yummy I will have to try to make it!