The post How to Make Upside-Down Caramelised Orange Cake With Ricotta appeared first on The World Is an Oyster.
]]>An Italian Inspired Delight for Your Morning Coffee
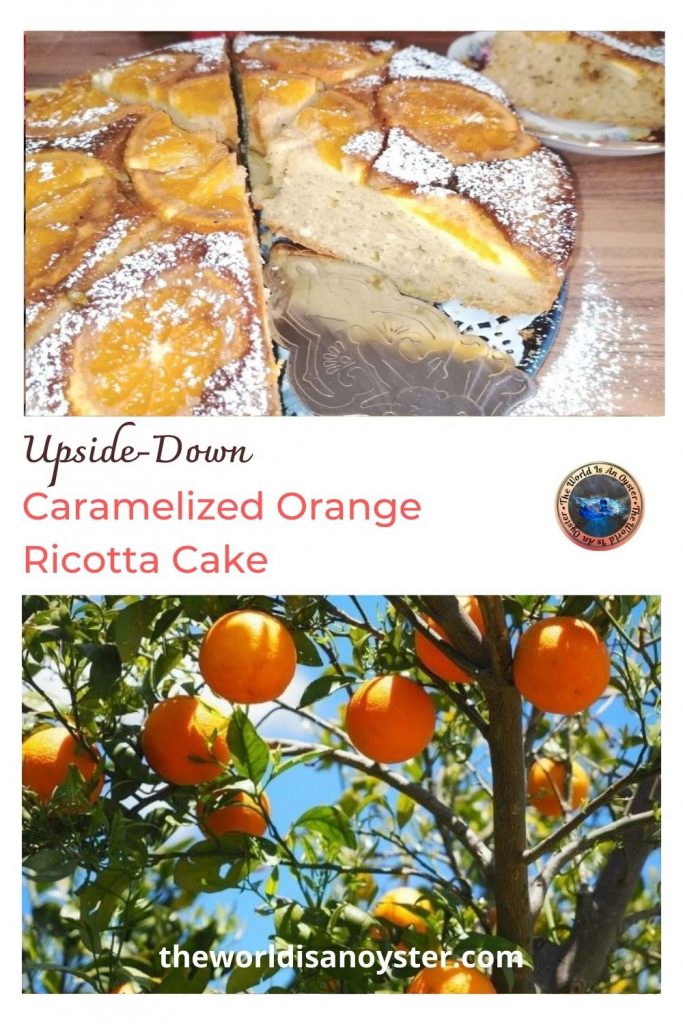
Orange and ricotta cake in endless variations is a famous desert around Italy, especially in the south where orange trees grow everywhere, not only in orchards, and cheesemaking has become a true art over the millennia.
This post may contain affiliate links, which means I will receive a commission if you purchase through my links at no extra cost to you. Please read the full disclosure for more information. Thank you!
I often look for inspiration in the incredible Italian cuisine when cooking or baking, and each time I congratulate myself for the result is always exceptional.
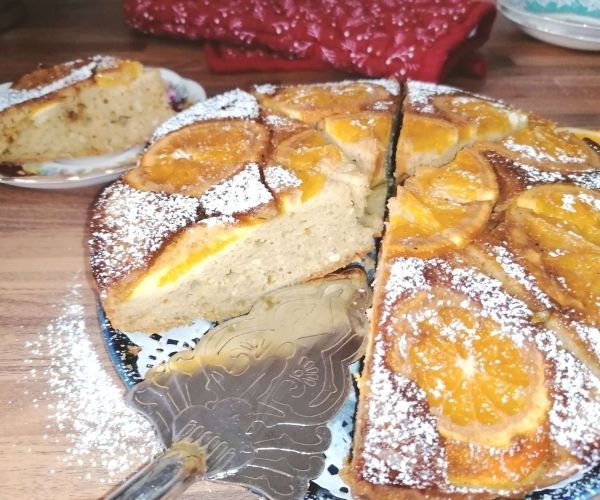
I tried two versions for this orange and ricotta cake: for one, I sprinkled sugar on the bottom of the baking mould and placed the orange slices over it to caramelise them during baking. The result was a delicious cake (flattened as I turned it upside down) that did not live to see the next day! It was just a Saturday cake devoured after lunch by my extended family.

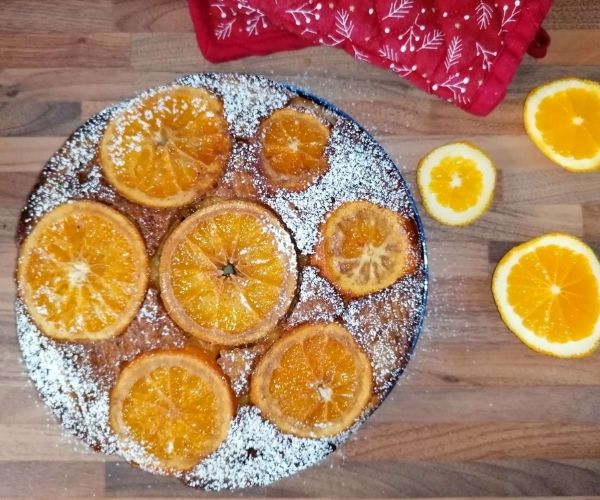
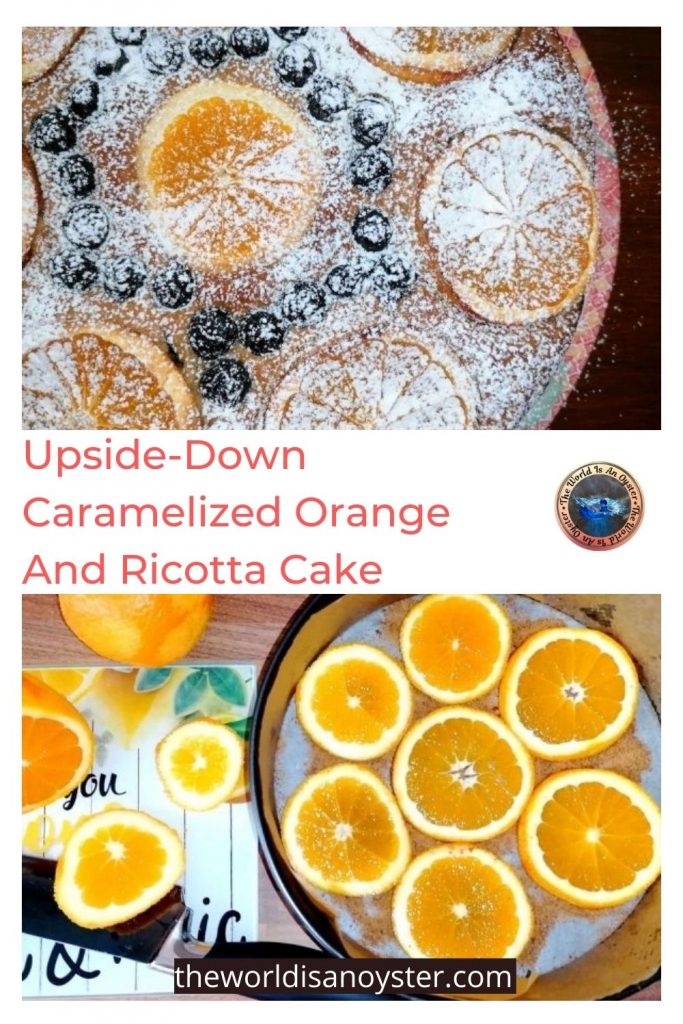
I placed the batter first and decorated it with orange slices and a handful of blueberries for the second cake. This one raised slightly more than the first version and maintained the shape.
Although the taste and aroma were similar, the oranges turned out differently on each cake. As they caramelised in the first one, the orange slices were soft and moist. The orange peel dried slightly in the other cake, where the slices did not sink enough into the batter and became a tad chewy.

Based on this experience, I decided to upload the upside-down version of this orange and ricotta cake as it turned out more successful.
One particularity of Italian baking is that the time spent in the kitchen is always minimal. The Italian cakes generally require a handful of ingredients and little time for preparation. The oven takes care of the baking for the next hour, and the baker enjoys their time living la dolce vita.
Rarely a recipe would be so complex as to confine you to the kitchen for hours on end. Check my pear and almond chocolate cake, too, should you need more convincing!
Add rapidity in preparation to amazing delectable taste and you will see why I absolutely adore Italian cuisine! What is your excuse not to start baking an orange and ricotta upside-down cake right away?
Ingredients for orange and ricotta upside-down cake:
Ricotta
Plain flour (organic, white)
Eggs
Coconut sugar
Organic oranges
Orange extract
Baking powder
Salt
Method:
Start by lining the baking mould. Mine is 26 cm in diameter and has a removable base. Still, lining the walls is always tricky and requires some help. Little hands will do and become quite the expert after a few tries! If you don’t have a helper waiting patiently to lick the bowl, perhaps oiling the mould’s walls before fitting the parchment will do the job.
Before starting the preparation, preheat the oven to 180°C/350°F/gas mark 4.
Separate the egg yolks from the whites. Mix the yolks with sugar, orange zest, juice, and orange extract until the volume doubles or trebles. Add the ricotta cheese and mix again.
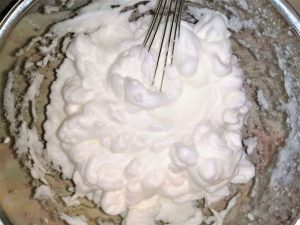
Batter the whites until they keep the shape when you remove the batters and combine them with the above composition.
Add the flour (previously sieved) and baking powder and mix with ample movements. The batter needs to remain airy so it does not flatten during baking.
Sprinkle a few tablespoons of sugar into the tray and place orange slices over. It is how the oranges caramelise during baking. To control the moisture degree, sprinkle some semolina; it will absorb the excess humidity without interfering with the caramelisation process.

Bake for fifty minutes to one hour (longer if batter sticks to the toothpick when you do the test). When ready, cool slightly, then place a large plate over the mould and turn upside down with a swift movement and allow to cool completely. Use oven gloves and clear the area around you for this manoeuvre; any little helpers present should only watch and learn a baking trick!
Sprinkle powdered sugar when cool and slice as desired. Enjoy the upside-down caramelized orange and ricotta cake with an indulgent cup of coffee.
Buon appetito!
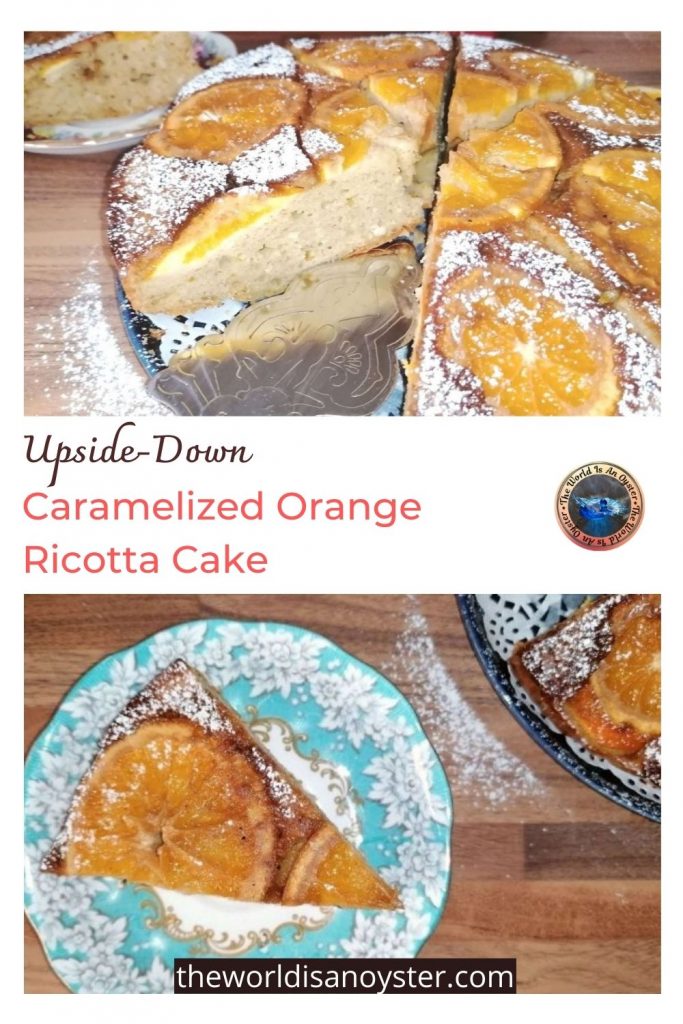

Upside-Down Caramelized Orange and Ricotta Cake
Equipment
- Round baking mould Ø26cm
- Mixing bowl
- Large spatula
- Kitchen scale
Ingredients
- 4 pcs eggs organic
- 250 g plain flour sieved
- 1 tsp baking powder
- 120 g coconut sugar
- 3 tbsp coconut sugar to caramelise the oranges
- 1-2 tbsp semolina to absorb extra moisture from oranges
- 1 organic orange juice+zest
- 1 organic orange sliced
- 250 g ricotta
- 1 tsp orange extract/liquour
- 1 pinch salt sea/rock
Instructions
- Line the baking mould with parchment paper.

- Preheat the oven to 180°C/350°F/gas mark 4.
- In a bowl, mix the egg yolks with sugar, orange zest + juice and orange extract. Use an electric mixer and batter until the quantity trebles, and the composition becomes creamy.
- Add the ricotta and incorporate using a spatula.
- Separately, batter the egg whites with a pinch of salt until they keep the shape when you remove the beaters.
- Add the egg whites to the composition and use a spatula to mix slowly from the bottom to the top until nicely incorporated.
- Mix the baking powder with the flour. Add it to the composition spoon by spoon while mixing carefully, aiming not to flatten the batter.
- Sprinkle uniformly three tablespoons of coconut sugar on the bottom of the baking mould. Cut an orange into 1 cm slices and place them over the sugar. During baking, the oranges will caramelise and infuse the cake with their flavour.

- Sprinkle 1-2 tablespoons of semolina over the orange slices to help absorb the excess moisture while baking.
- Pour the batter over the oranges and gently level it.
- Bake for 50 minutes to one hour until golden brown and perform the toothpick test to check the cake is baked thoroughly. As each oven bakes differently, you might need to cover the mould with a tray for the first 20 minutes to avoid burning. During the first 20 minutes of baking, do not open the oven's door!
- When ready, remove the cake from the oven and allow it to cool for 2-3 minutes, then place a large plate/cake stand over the mould, hold firmly and turn it upside down. Wear oven gloves and be careful not to burn your hands during this step!

- Let the cake cool completely on a rack, then sprinkle with powdered sugar.
- Slice the cake and serve it preferably with a steamy cup of coffee or cappuccino. Enjoy!

Notes

An Italian Inspired Delight for Your Morning Coffee
The post How to Make Upside-Down Caramelised Orange Cake With Ricotta appeared first on The World Is an Oyster.
]]>The post How to Make the Softest Italian Pear and Almond Chocolate Cake appeared first on The World Is an Oyster.
]]>Valentine’s Day Delight or Daily Coffee Side?
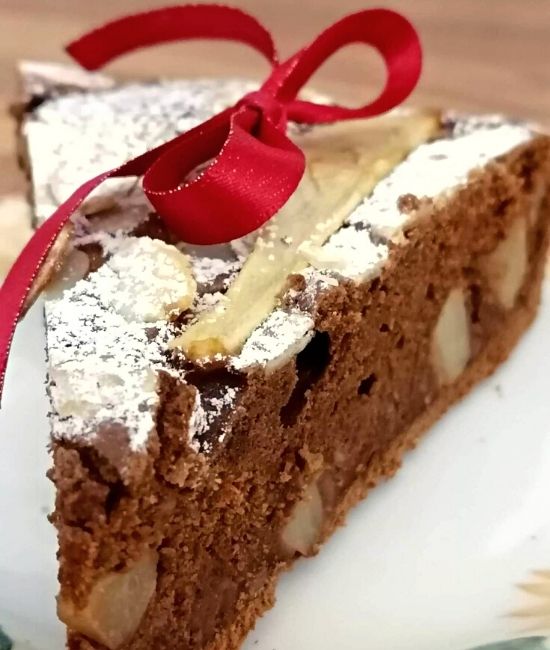
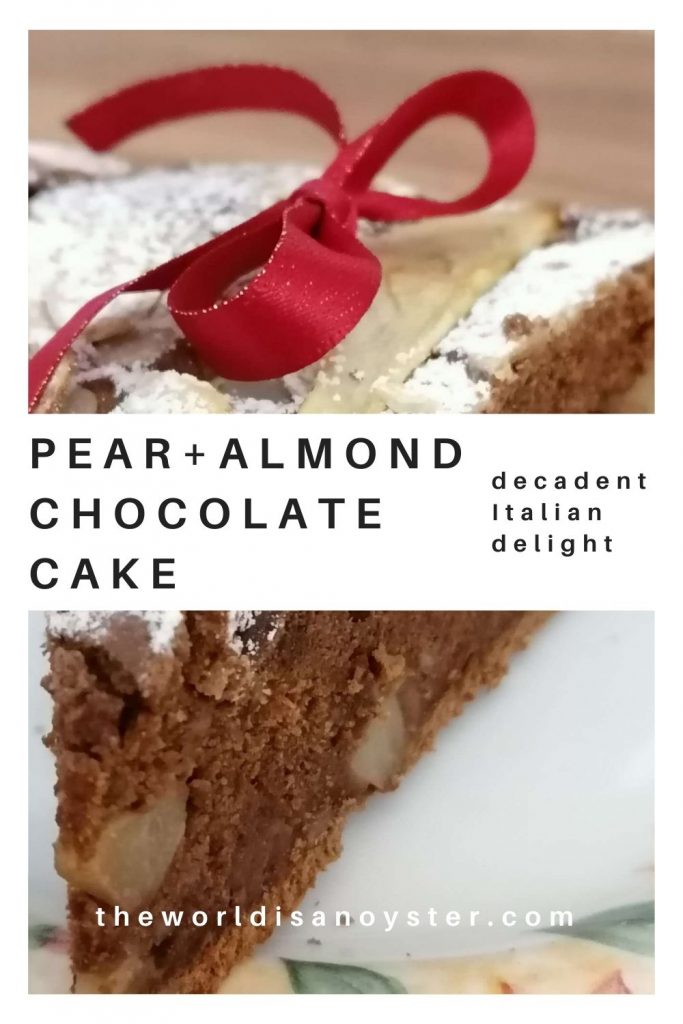
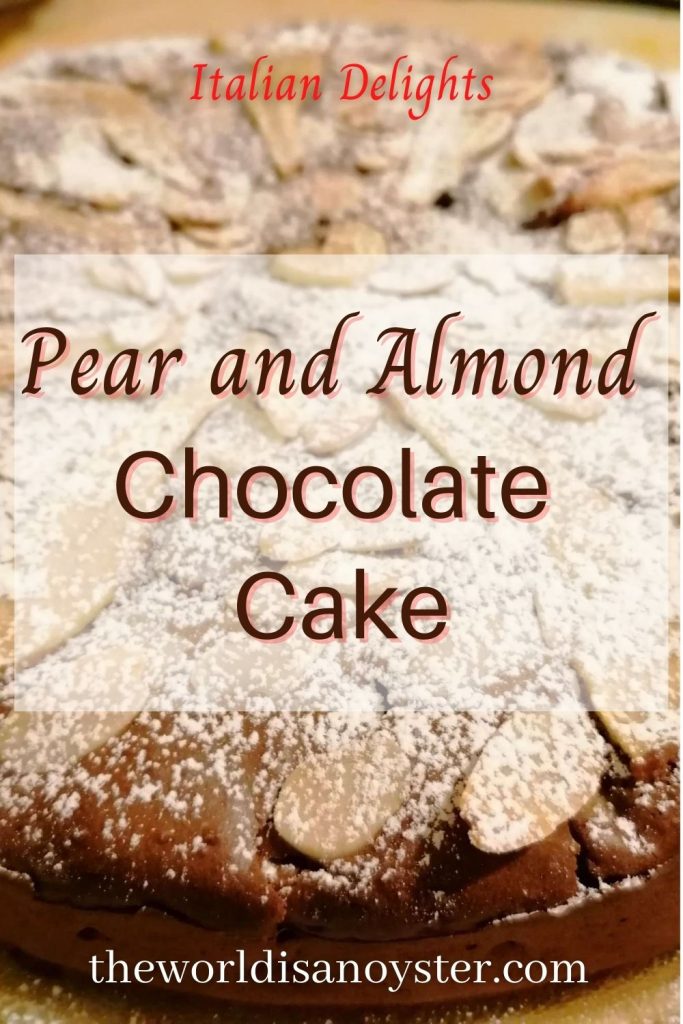
This Pear and Almond Chocolate Cake is a delicious and versatile dessert that works wonderfully as an indulgent dessert to finish a romantic Valentine’s Day dinner AND as a side for your daily coffee(s).
This post may contain affiliate links, which means I will receive a commission if you purchase through my links at no extra cost to you. Please read the full disclosure for more information. Thank you!
To the Italians, it is in most cases the latter, but that does not mean this pear and almond chocolate cake cannot make a perfect special occasion dessert. To me, it works the same way Tiramisù would: “wow!” And “can I have more, please?”

Imagine the combination of delicate, soft and juicy pears and the crunchiness offered by the crushed almonds. Add to that the richness of chocolate, and the result is an explosion of tastes on your palate! Nothing short than a heavenly dessert to the gluttonous!

As is often the case with Italian cuisine, this cake is easy to make and so scrumptious – a guarantee that you will impress the beneficiary no matter the occasion!
Ingredients for Pear and Almond Chocolate Cake
Flour + Baking powder
Almonds (crushed and flakes, slightly roasted)
Pears (ripe and juicy)
Butter (melted and cooled)
Eggs
Coconut sugar
Powdered sugar
Cacao powder (dark)
Unsweetened almond milk
Lemon zest and juice (always use organic to avoid chemicals and wax in the peel)
Almond essence
Salt
Method
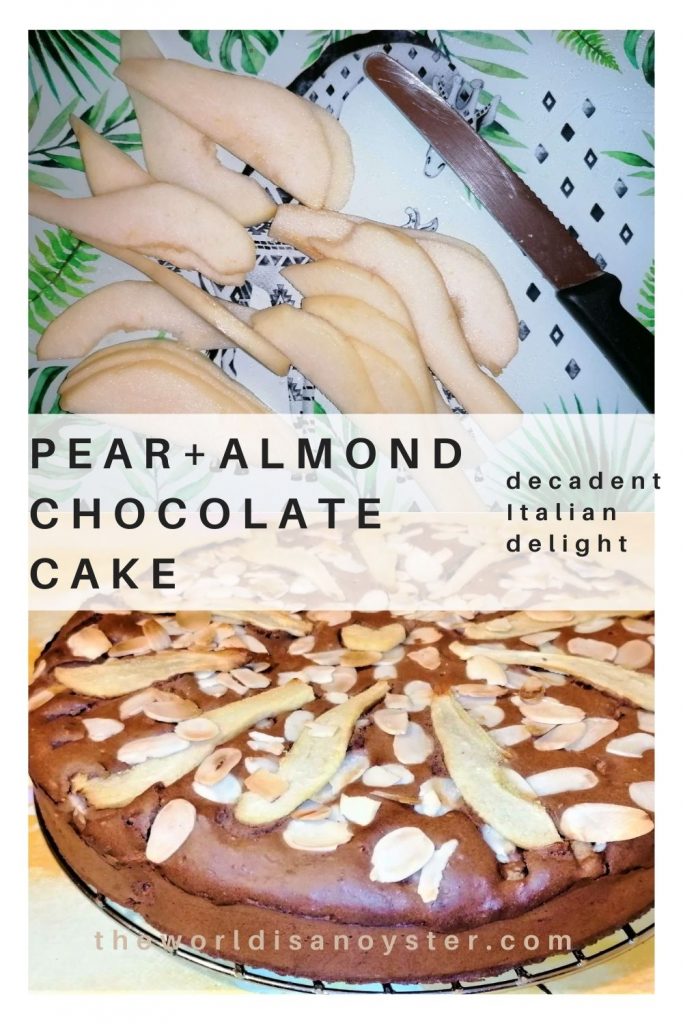
Start by washing and peeling the pears. Slice half a pear for decoration and cut the rest in 1-2 cm cubes. Cover with lemon juice to prevent from oxidising.
Roast and ground the almonds. Separately, slightly roast the flaked almonds for decoration to enhance the taste.
In a large bowl, mix the coconut sugar with the egg yolks and lemon zest. Use a hand mixer at low velocity to start, then increase to high and keep whisking until the volume almost doubles and the consistency becomes creamy.
Add the milk and melted butter (cooled). Mix with a spoon.
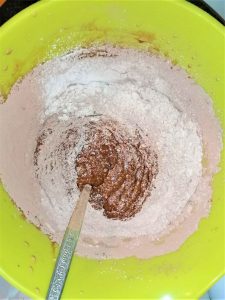
Sieve the flour, baking powder and cacao powder in a large bowl and incorporate it one spoon at a time into the creamy mix.
Add the crushed almonds and the almond essence.
Separately, add a little salt to the egg whites and beat with a handheld mixer until stiff. Add it gradually to the creamy mix and incorporate slowly, using a spoon.
Add the cut pears and mix carefully not to crush them.
Preheat the oven to 170 C Fan/180 regular/350 F/ Gas mark 4. Place paper parchment on a round baking tin (mine has 24 cm in diameter; it is OK to use a smaller one, but I would not recommend a larger one – your cake will be too flat.)
Empty the composition into the tray and spread it evenly without pressing down too much.
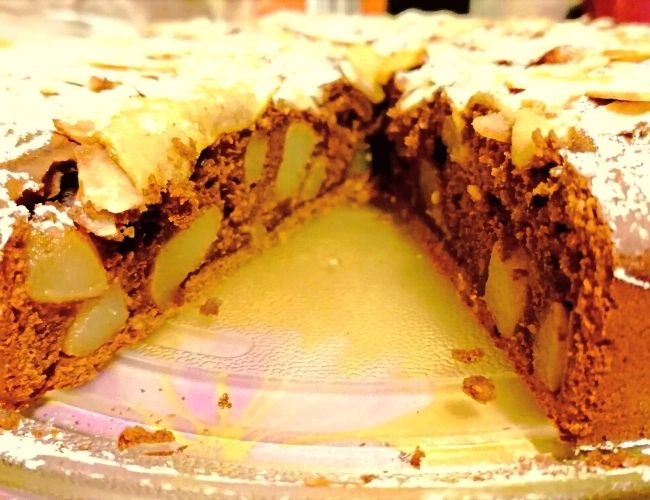
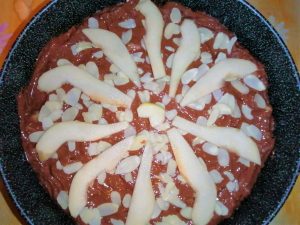
Sprinkle a layer of roasted almond flakes, then decorate with pear slices.
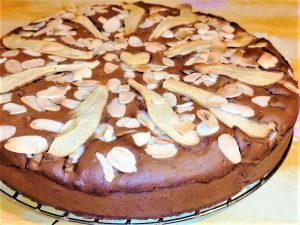
Bake for 40 minutes and do the toothpick test to check that your chocolate, pear and almond cake is ready. If the toothpick comes out wet, you might need an additional 5-10 minutes of baking.
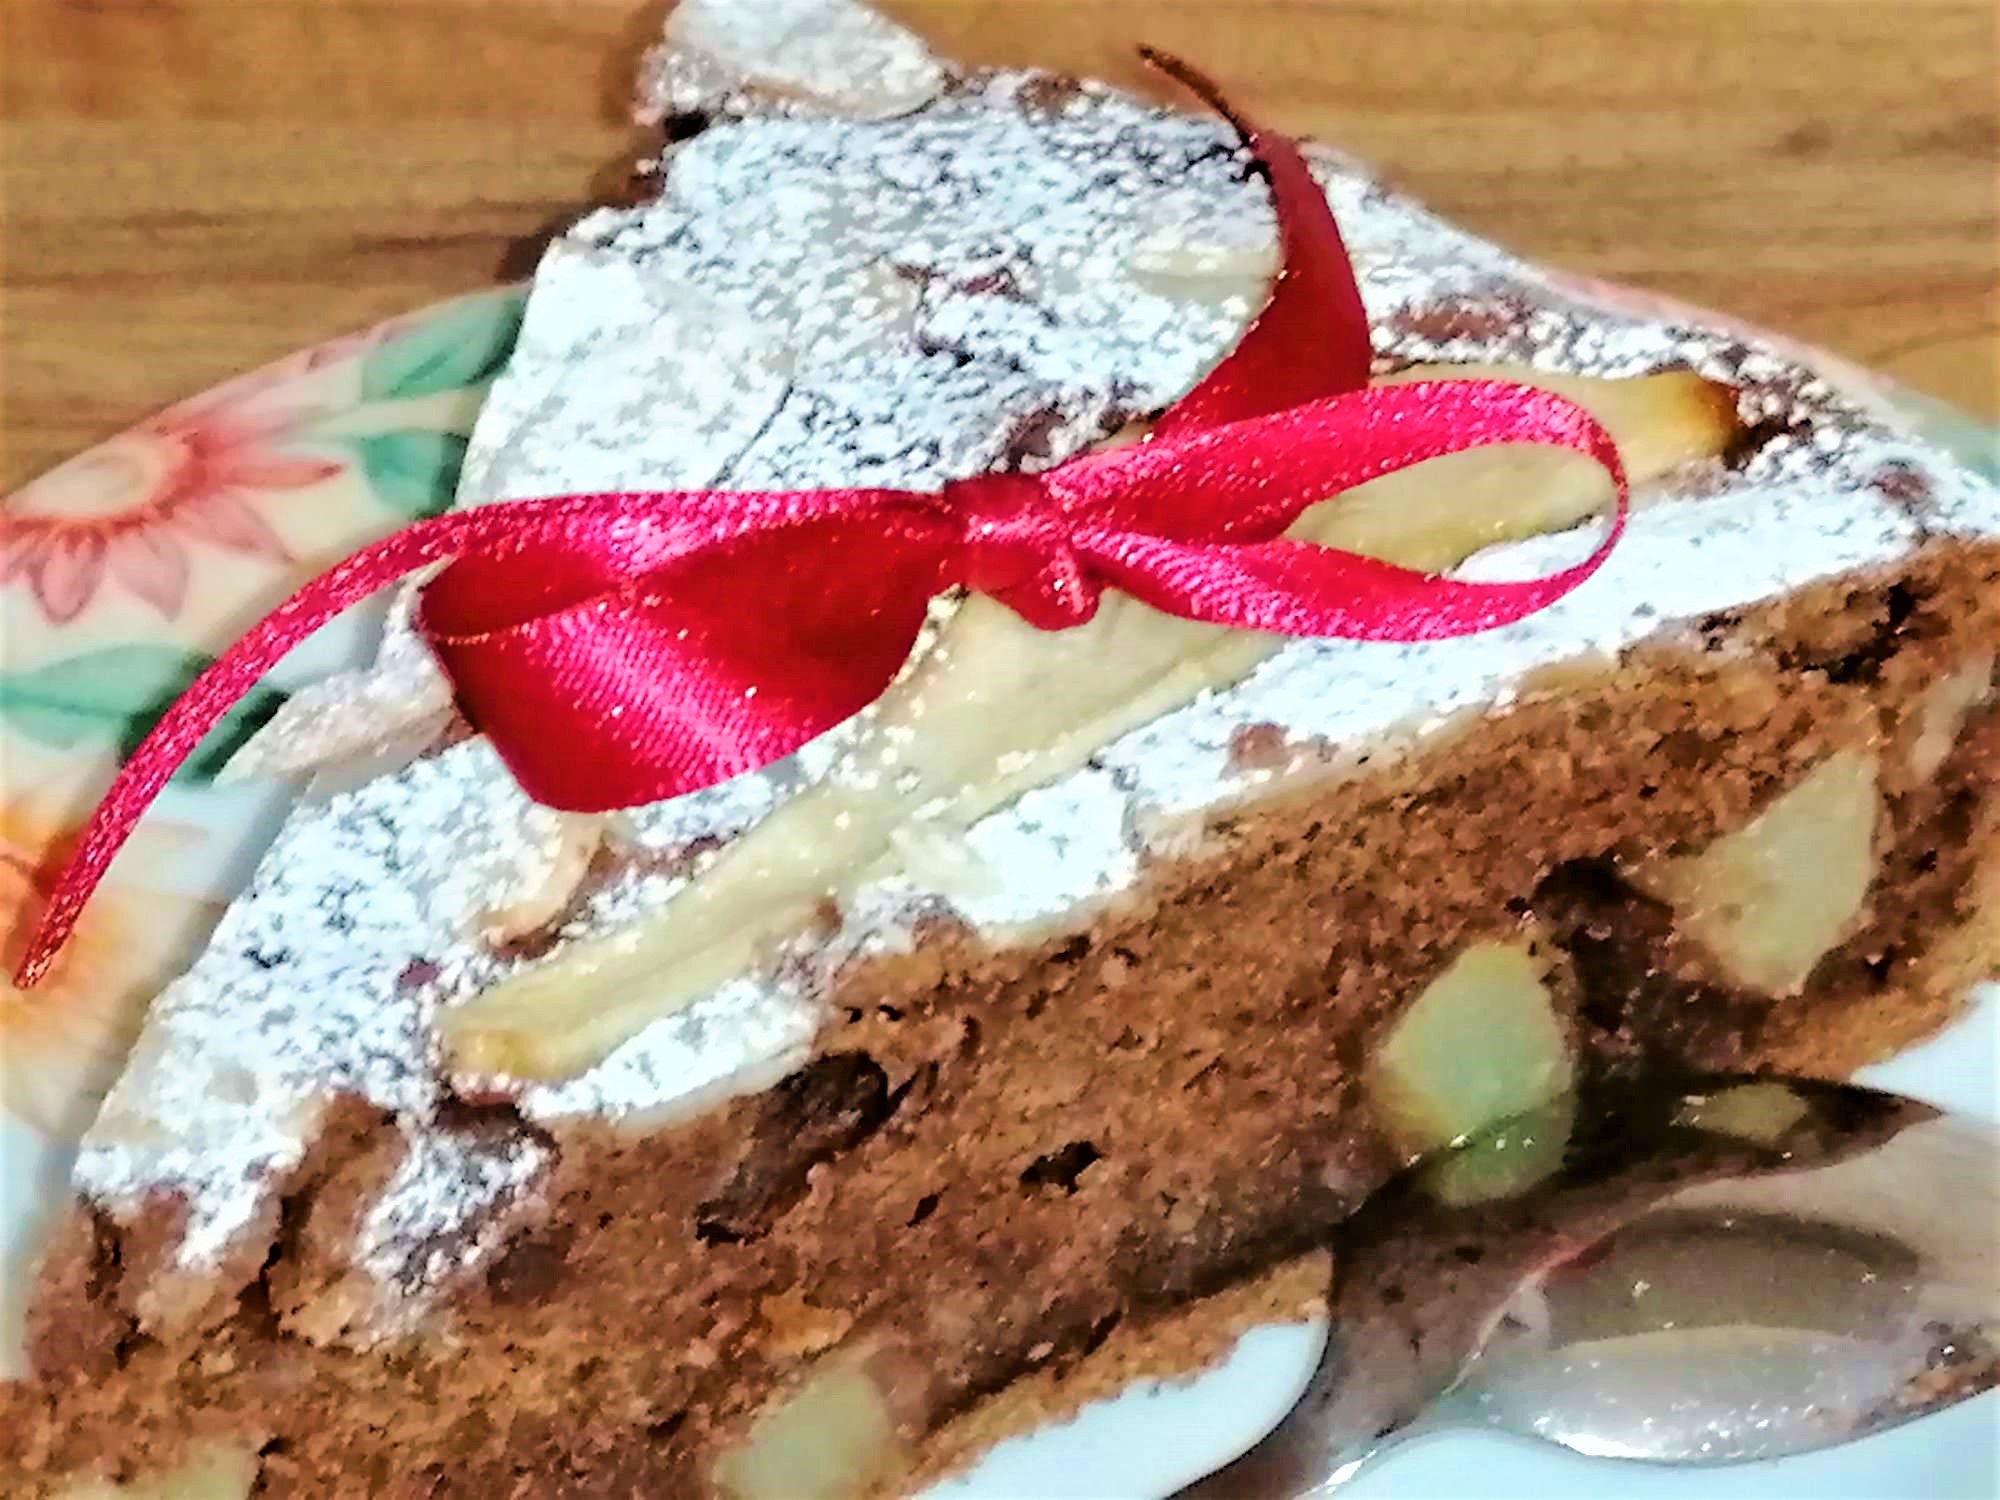
Transfer to a rack and wait until cool to sprinkle with powdered sugar.
Serve with coffee or a glass of Prosecco if the occasion is right.
If it lasts, you could store the pear and almond chocolate cake in the fridge for 2-3 days (in an airtight container or covered with cling film) or in the freezer for up to three months. Preferably cut it in slices before freezing for easier defrosting.
I have made this Italian delight many times, and it never lasted more than a day and the next morning at our house. We put it down to being coffee addicts, but the truth is this cake is simply outstanding!
And there is that funny thing with visitors always arriving when there’s something baking in the oven. A bit of a mystery as to how that happens. I’m still unsure how long the wavelength of baking aroma is, but I’m sure these mysterious appearances have something to do with complex baking physics laws. As a result, my cakes will never see the inside of the freezer!
Buon appetito!
Pear and Almond Chocolate Cake
Ingredients
- 250 g white flour organic
- 100 g butter melted and cooled
- 120 g coconut sugar organic
- 4 pcs eggs organic, large
- 40 g cacao powder organic
- 6-7 tbsp almond milk unsweetened
- 150 g crushed almonds roasted
- 20 g flaked almonds roasted
- 3 pcs pear large
- 1 lemon zest and juice organic
- ½ tsp baking powder
- 1 tsp almond essence
- a pinch of salt
Instructions
- Choose large, ripe but firm pears. Wash and peel.

- Slice ½ pear for decoration and cut the rest in small cubes. Cover with lemon juice to prevent from oxidising.
- Roast the almonds, cool and grind finely. Slightly roast the flaked almonds for decoration to enhance the taste.
- In a large bowl, mix the coconut sugar with the egg yolks and lemon zest. Use a hand mixer at low velocity to start, then increase to high and keep whisking until the volume almost doubles and the consistency becomes that of soft cream.
- Add the milk and melted butter (cooled) and mix with a spoon.
- Sieve the flour, baking powder and cacao powder together in a large bowl and incorporate one spoon at the time into the creamy mix.
- Add the crushed almonds and the almond essence.
- Separately, add a little salt to the egg whites and beat with the handheld mixer until stiff.
- Add gradually to the creamy mix and incorporate slowly, using a spoon.
- Add the cut pears and mix carefully not to crush the pears.
- Preheat the oven to 170° C Fan/180° C regular oven/350° F/ Gas mark 4. Place paper parchment on a round baking tin (mine has 24 cm in diameter; it is OK to use a smaller one, but I would not recommend a larger one – your cake will be too flat.)
- Empty the composition into the tray and spread it evenly without pressing down too much.
- Sprinkle a layer of roasted almond flakes, then decorate with the pear slices. The pears' weight might sink them during baking, but I noticed that a thin layer of almond flakes underneath prevents this from happening.
- Bake for 40 minutes and do the toothpick test to check that your chocolate, pear and almond cake is ready. If the toothpick comes out wet, you might need to bake for additional 5-10 minutes.
- Transfer to a rack and wait until cool to sprinkle with powdered sugar.
- Serve with coffee or a glass of Prosecco if the occasion is right.
Notes
I hope you enjoyed reading this romantic recipe and decided to give it a go! You can find more like this in the Savour the Flavour section of this blog or on my Pinterest board with the same name. Please share it on your desserts board; it will help this blog grow and motivate me to write more for your enjoyment! Thank you!
Valentine’s Day Delight or Daily Coffee Side?
The post How to Make the Softest Italian Pear and Almond Chocolate Cake appeared first on The World Is an Oyster.
]]>The post Perfect Bread Maker Panettone – Christmas Made Easy appeared first on The World Is an Oyster.
]]>The Bread of Toni

As is the case with everything Italian, the nation’s Christmas traditional dessert, Panettone, has its history that goes back to the fifteenth century.
This post may contain affiliate links, which means I will receive a commission if you purchase through my links at no extra cost to you. Please read the full disclosure for more information. Thank you!
A legend has it that one Christmas Eve, while the entire court and guests of Ludovico Sforza, Duke of Milan were sat at the festive table, disaster stroke in the kitchen. The cook managed to burn the dessert accidentally!
Mamma mia, che dolore che faccio ora il duce mi va cortare il capo! (Oh, dear God, what a disaster, the duke will chop my head off!)

While the unfortunate cook was pulling his hair off, a kitchen helper, Toni, threw a few ingredients in a bowl and made a soft dough he baked and served to the potent rulers of Milan.
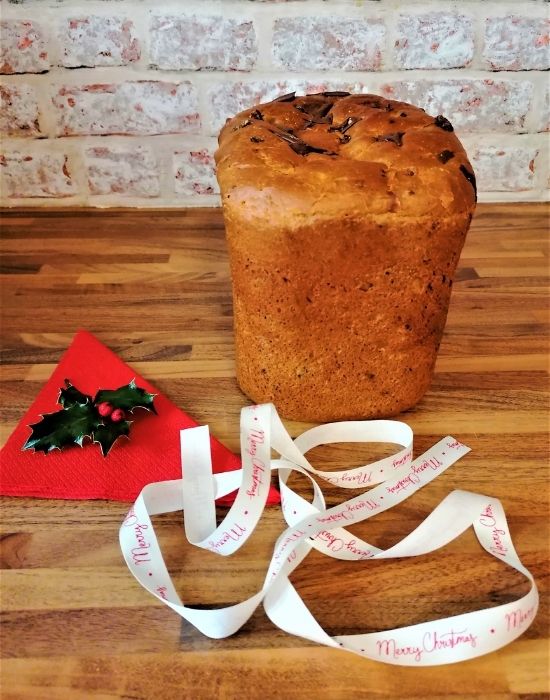
The sweetbread was so successful among the guests that the Sforzas called it Pan di Toni (The Bread of Toni), which remained in history as the rich people’s traditional Christmas bread. Today, it is the classic Italian dessert the entire world knows as Panettone.
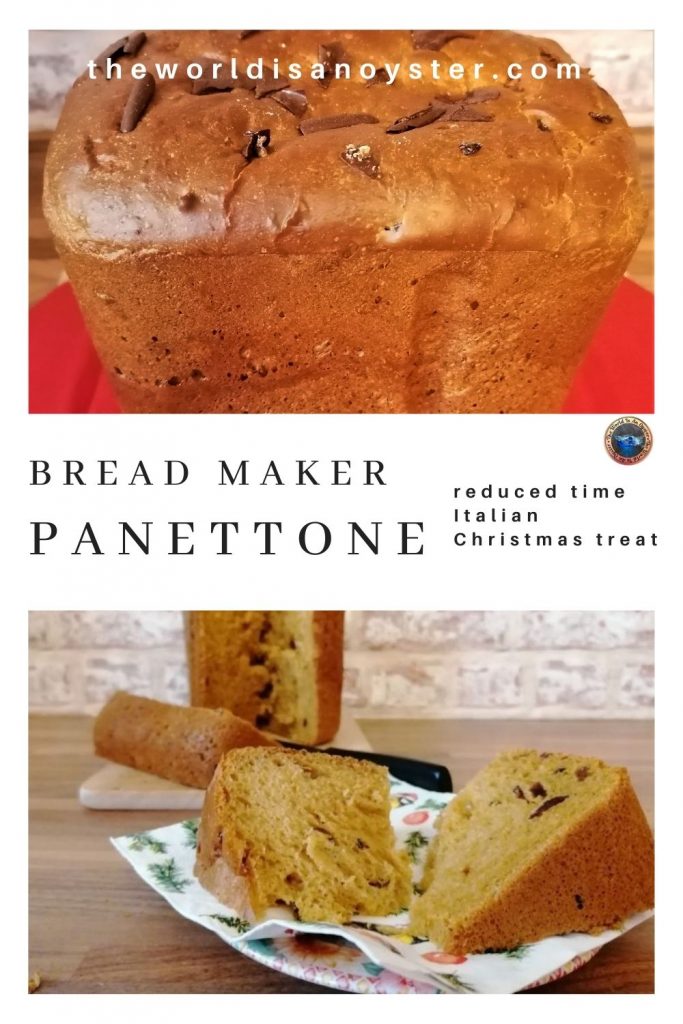
The traditional recipe for Panettone has a lengthy preparation process that takes two days. Thanks to modern technology, many of us use bread makers to save time and bake easier. If you own one and read through the manual, you might find a Panettone recipe adjusted to the type of machine you have.
Just a quick word about everybody should use a breadmaker. To me, it became a vital kitchen appliance during my chemotherapy sessions, years ago when I was diagnosed and treated for cancer. I started using it during my brutal treatment and never went back to buying supermarket bread since!
I know what ingredients I am using (all the healthy ones, always!), I know what type of bread or cake I want, and this beautiful invention provides it to me, as simple as that! All I have to do is add the ingredients, choose the program and press the start button. Then I go on with my business and come back only when I hear the beep that tells me my bread/cake is ready.
A breadmaker is a fantastic time-saver, but the best thing about using one is the tremendous health benefit to you! Say adiós to refined sugars, GMO flours and all sorts of additives that come with a bag of sliced bread and start a healthier lifestyle; you owe it to yourself and your family!
This Panettone is an adapted recipe from my bread maker’s booklet. The original sounded a bit blunt, and I wanted to get all the flavours that scream Christmas; hence I added a few things, and the result was an absolute success.

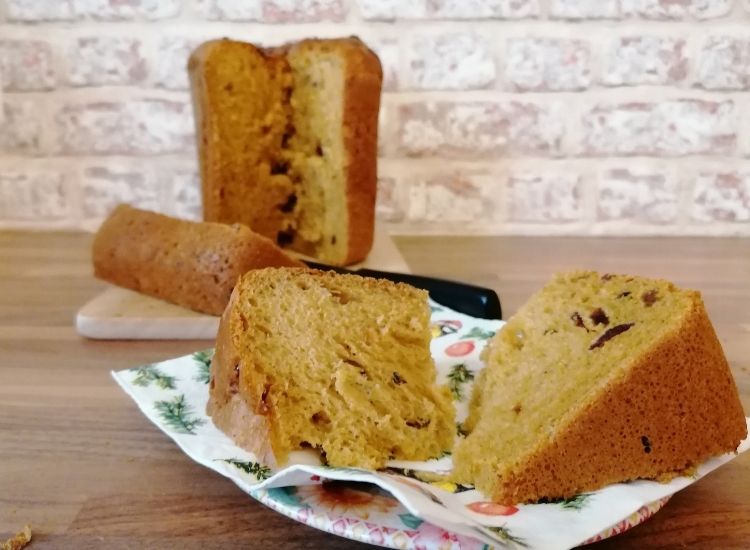
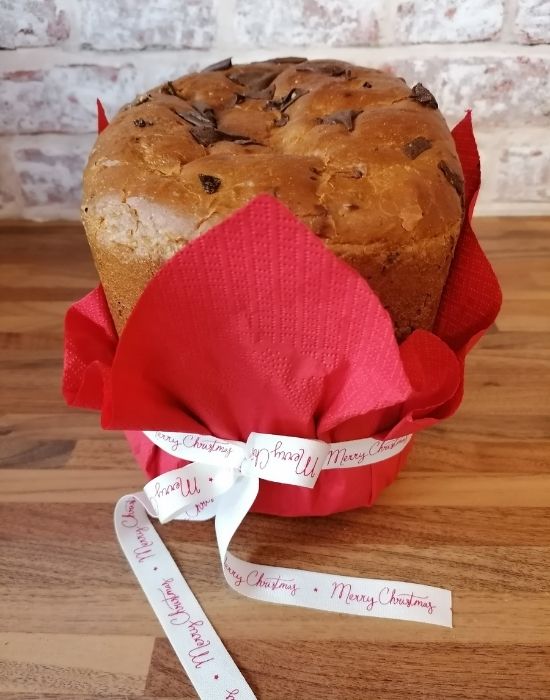
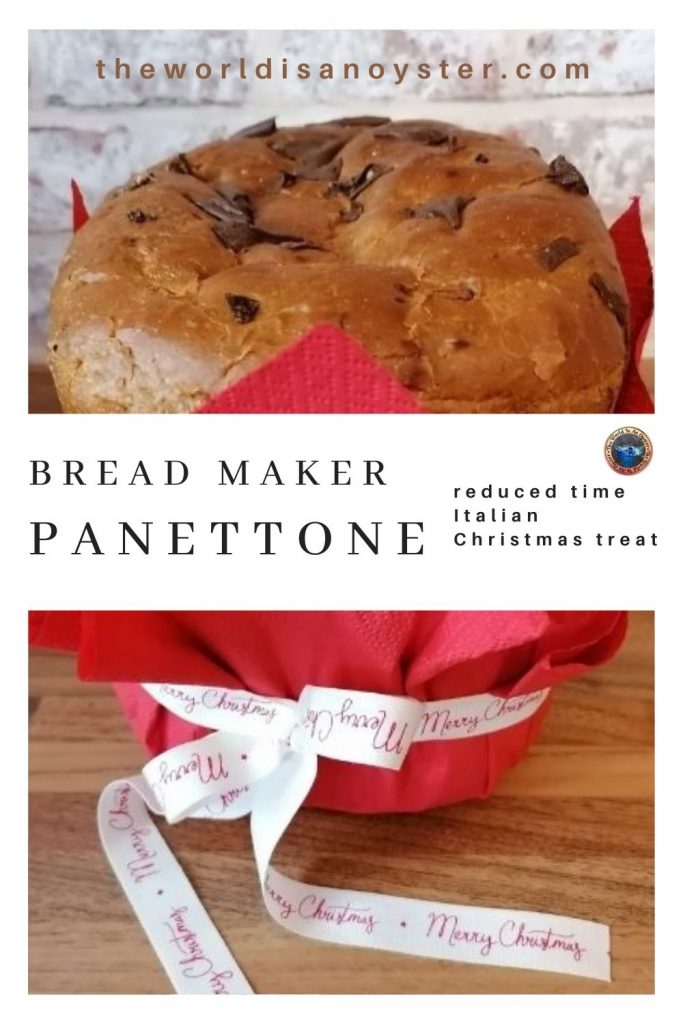
My bread maker Panettone lived a very brief life on the kitchen table! But this was only a try. On Christmas Eve, I’ll be sure to throw all the ingredients in the machine, and while we make the last-minute preparation, my Panettone will be ready just in time for dinner.
I’m sure our kitchen hero Toni would not mind that I wanted to save time and prepare his delight using modern means. It does cut the time from two days to three and a half hours!

As a last note, the dough for Panettone is a soft one, completely different from bread dough and impossible to hand-knead. Even if you chose the traditional method, you would still need a food mixer, and why not leave it to the bread maker then?
Ingredients for bread-maker Panettone:
2 tsp dried yeast (make sure it is suitable for bread maker use)
400 g strong bread flour
5 tbsp coconut sugar
1 tsp sea/rock salt
1 tbsp coconut oil (at room temperature)
2 eggs (beaten)
200 ml (3/4 cup) almond/coconut milk
1 tbsp orange zest
Spices mix (ground cinnamon, nutmeg, ginger, clove)
Extras:
50 g butter
A handful of raisins
A handful of goji berries
A handful of dried cranberries
2 tbsp cacao nibs
Chocolate shreds (I picked some from a cereal box and spread them on top of my Panettone; improvisation is key!)
The programme for this bread is Brioche (13, on my device); crust option: light; total time: 3 hours 30 minutes.
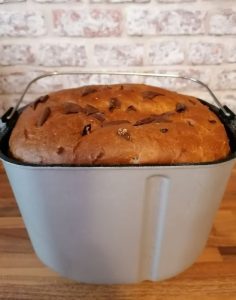
My machine requires adding the dry ingredients first; the wet ingredients go over the flour, and the order in which I add them does not matter.
My bread maker would beep after 55 minutes when it was time to add the extras. Then I have to press the Start button again for the program to continue.
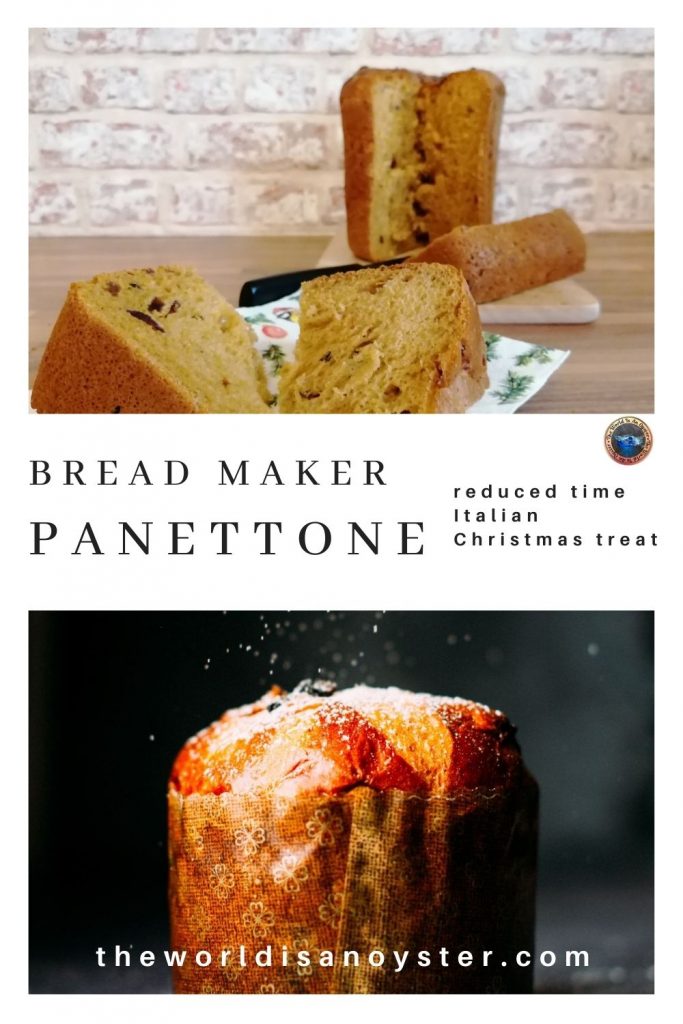
Each bread maker functions differently. The important thing is that the machine will do the job and will let you know when your beautiful, fluffy and aromatic Panettone is ready. Let it cool and use it within a week (if it lasts!)
Buon appetito and also Buon Natale for when you will serve it at your Christmas dinner!
Bread maker Panettone
Equipment
- Bread maker machine
- Spoon
- Small bowl+fork
- Cooling rack
Ingredients
Basic ingredients
- 400 g organic strong bread flour
- 5 tbsp organic coconut sugar
- 2 tsp dried yeast the suitable for bread makers type
- 1 tbsp organic coconut oil at room temperature
- 2 organic eggs beaten
- 1 tsp sea/rock salt
- 200 ml almond or coconut milk ¾ cup
- 1 tbsp organic orange zest
- 1 tbsp spice mix (ground cinnamon, nutmeg, ginger, clove)
Extras
- 50 g organic butter unsalted
- 1 handful raisins
- 1 handful goji berries organic, sundried
- 2 tbsp cacao nibs
- 1 handful chocolate shreds or dry fruits for decoration
Instructions
- The programme for this bread is Brioche (13, on my device); crust option: light; total time: 3 hours 30 minutes. Check the instruction booklet for your machine to choose the right programme.
- Each bread maker is different; my machine requires adding the dry ingredients first, then all the wet ones on top.
- After 55 minutes, the machine would beep and let me know that it was time to add the extras. Then I have to press the Start button again for the program to continue.
- When ready, carefully remove the pan from the bread maker using oven gloves.
- Remove the Panettone from the pan and allow it to cool completely on a cooling rack before serving.
- Each bread maker functions differently, but the end result will be a fluffy, flavourful Panettone ready in time for your Christmas dinner and a house filled with holidays aromas!
Notes
The Bread of Toni
The post Perfect Bread Maker Panettone – Christmas Made Easy appeared first on The World Is an Oyster.
]]>The post How to Make the Best Ever Classic Tiramisù appeared first on The World Is an Oyster.
]]>A Finger-Licking Delicious Italian Dessert
I had the idea to make a classic Tiramisù after reading this book: Every Day Is A Holiday by George Mahood.
The author, a family man, had an epiphany that people invented or created many holidays connected to something meaningful. The entire calendar, all 360 days of it, consists of something significant enough that deserves recognition. So, Mahood celebrated something every day for a whole year.
Anything is worth revelling, from Zombie Day on the first of January to Oopsie Daisy Day, Awkward Moments Day, Work Naked Day, No Diet Day and everything in between. The book is hilarious; by the time I finished reading it, I felt a lot happier than before I started it.

How is a book connected with our classic Tiramisù, you might ask? I don’t think it is. But, you probably guessed, there is a Tiramisù day in the calendar, established by Italians after Mahood published his book.
To be precise, each year we should celebrate this luscious Italian dessert on the twenty-first of March. We should also celebrate it every day before and after if you ask me!
I recommend you read this book; it will lift your spirits. As will do this finger-licking delicious Italian dessert that literary translates to “pick me up” or “lift me up”.
Tiramisù is easy to make and never fails to impress. Everyone who had it at my house asked for seconds. I’ve seen people getting happier by the minute as they eat this cake. Possibly, by the time your Tiramisù is ready, you’ll be in much higher spirits than you are at this moment!
As Italians are highly creative people, there is a legend related to Tiramisù’s origin. It is a bit raunchy; hopefully, you are an adult reading this post to yourself while any kids on the premises are happily and undisturbedly playing video games.
About two centuries ago, in the city of Treviso, not far from Venice, a brothel madam started to offer an alcohol-containing desert to the establishment’s guests. The purpose of the cake was to help the customers replenish their powers before they’d leave the pleasure house and return to their wives.
In Treviso dialect, the name madam chose for her aphrodisiac was “Tireme su”. This phrase later became the one Italian word that the entire global population is fluent in – Tiramisù.
Fast forward to 2020, it appears the world is actually crazy for a boozy nineteen century Viagra! The conundrum is: pharmacy or supermarket?
If you choose the latter, your shopping list must contain a few specific ingredients for this classic Tiramisù recipe.
Disclaimer: If you are old enough to drink, you should always drink responsibly!
Ingredients for Classic Tiramisù
Savoiardi biscuits (ladyfingers). The quantity is relative as you can assemble it in anything from a couple of glasses to a large tray. I usually make more because I know it vanishes in minutes, so I use about twenty ladyfingers per level (x3 levels).
Coffee (ground or instant; decaf if shared with children)
Coconut sugar
Vanilla pods
Mascarpone cheese
Cacao powder
Liquor (I prefer Amaretto). Of course, forget about it for the child-friendly version of Tiramisù.
Optional (if you choose to make the cream from scratch) egg yolks, almond milk, corn/potato starch.

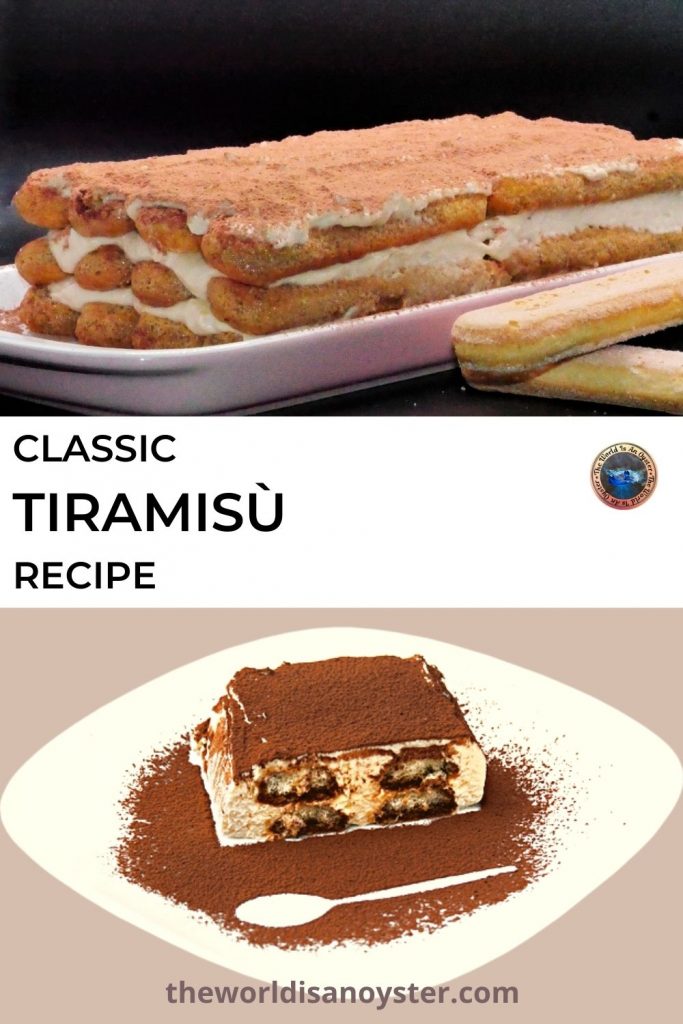

Classic Tiramisù
Ingredients
- 60 pcs Savoiardi biscuits (ladyfingers)
- 4-5 tbsp instant coffee (decaf if shared with children)
- 5 tbsp coconut sugar
- 2 pods vanilla
- 2 pcs Mascarpone cheese (about 500g)
- 5 pcs egg yolk
- 6 tbsp Amaretto (skip for the child-friendly version)
- 3-4 tbsp organic cacao powder
- unsweetend almond milk (optional, according to the filling method you choose)
- corn starch (optional, according to the filling method you choose)
Instructions
- Start by preparing the coffee. Boil circa half a litre of water with a spoon of sugar for a couple of minutes. Turn the hob off, add the coffee and stir until it dissolves completely. Let it cool down.
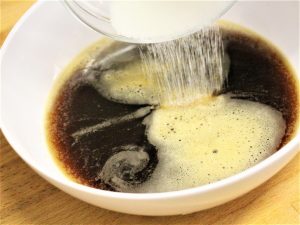
- Open a small bottle of Amaretto and pour a glass. Drink half and keep the rest for later. Add the required quantity to the coffee.

- There are two ways to prepare the cream: either use raw eggs or boil them, based on who is eating the cake. You should probably cook the eggs for young children, pregnant ladies, or persons with certain medical conditions.
The cooking method for the filling
- If you choose the cooking method, you will need to add 500ml milk and 2-3 tablespoons of corn starch.
- In a bowl, mix the sugar with egg yolks, corn starch and a few tablespoons of cold milk. Add the vanilla seeds to the remainder of the milk and boil it in a pan. Add the hot milk to the egg yolk mix spoon by spoon, stirring well after each one. You will have to balance the temperature patiently!
- When the composition is evenly mixed, pour it back into the pan and boil at low heat for 3-5 minutes or until it hardens, stirring continuously. Allow it to cool off before adding the mascarpone cheese.
The cold/raw version for the filling
- For the cold version, whisk the sugar and egg yolks until the volume doubles. The consistency should be that of soft cream. Scrape the vanilla pods and whisk. Add the mascarpone cheese gradually and mix until incorporated.
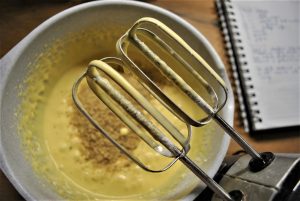
- At your discretion, you can add the egg whites whipped until stiff. Mix it slowly, careful not to spoil the entire thing. Have a sip of Amaretto.
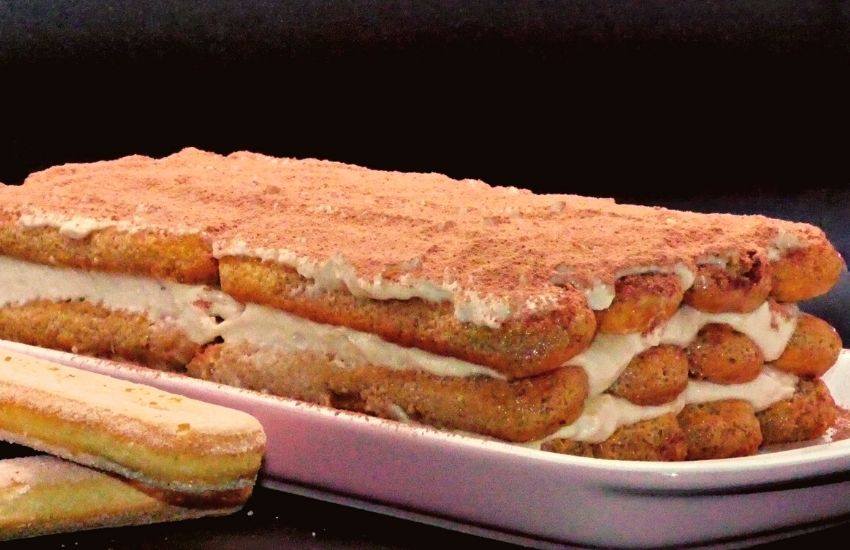
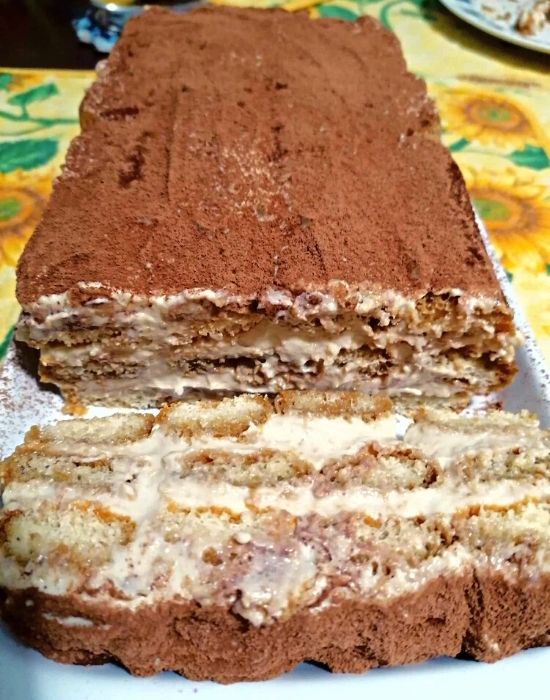
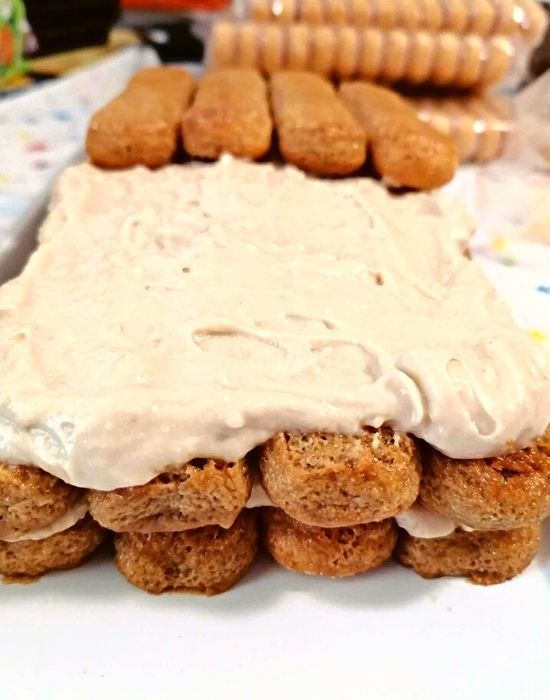
Assembling the Tiramisù
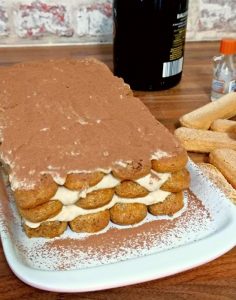
- Dip each ladyfinger in the coffee mix (for no longer than a second; you want the biscuits moist, not soggy) and place them in the glass or on the platter/tray. Continue until the level is complete. Have a sip of Amaretto. Even two!
- Divide the filling cream into three parts. Spread one part evenly over the first layer of ladyfingers.

- At this point, you won’t need more Amaretto in the coffee so you can pour another glass to yourself.
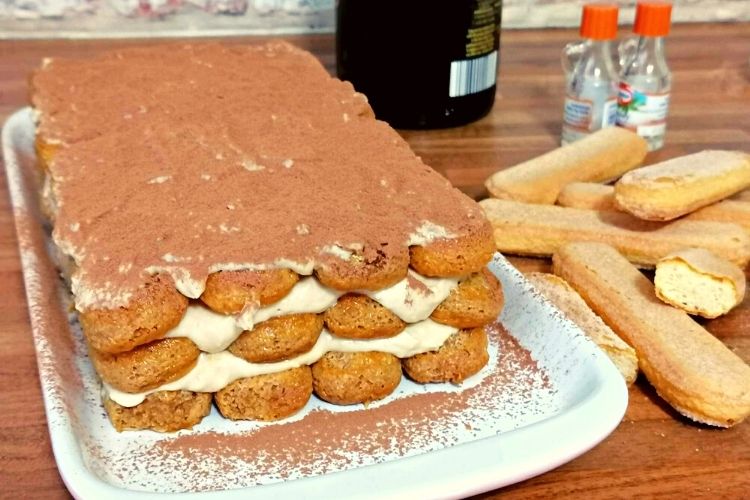
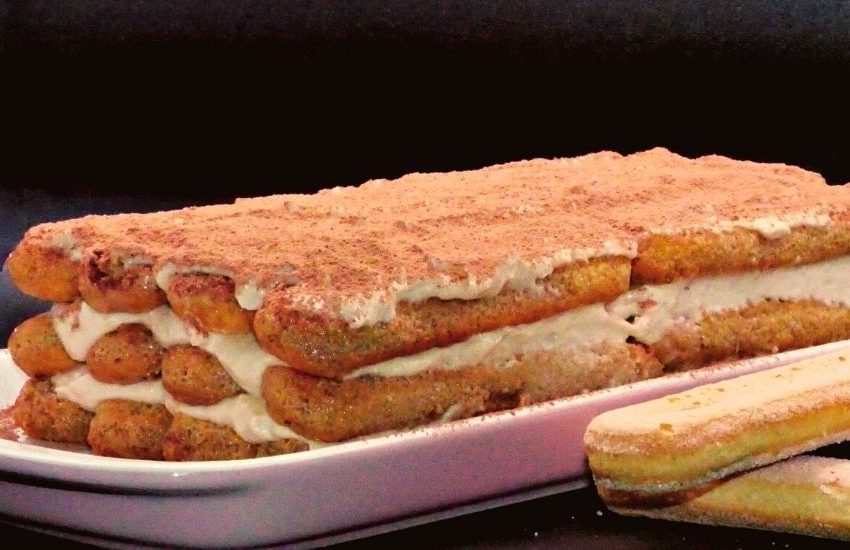
- Build the second layer of ladyfingers and spread the cream over it. Lift the glass. And drink the Amaretto. Continue with the third and last layer. Empty what’s left in the bottle into the glass. Drink!

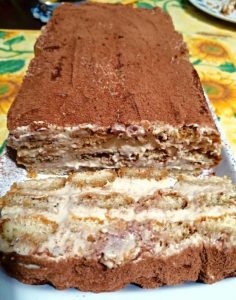
- After you’ve spread the remainder of the cream, lick the bowl. Check how much Amaretto is left. Then, sprinkle the cocoa evenly over the entire surface. Good luck with that!
- Leave the Tiramisù in the fridge for a few hours or overnight to set before serving.
- Before you tidy up, empty the glass. Preferably by drinking it. Not the glass! The content.
The hard to do part 
- Ask the kitchen to stop spinning. Mix the bowl in the washing machine and add shampoo in the dishwasher. Soap! If you can see the button that says On/Off, press on it. If not, it’s OK. Don’t call your optician yet!
- Presto, your Tiramisù is somehow complete and looking lofty. Lifting!
- Cheers! I possibly meant buon appetitito! Appetissimo! Buon Appetizing! I told you to read the damn book! Hiccup! Pardon you!
Notes
A Finger-Licking Delicious Italian Dessert
The post How to Make the Best Ever Classic Tiramisù appeared first on The World Is an Oyster.
]]>