The post Greek Pita Bread. Bake The Fun And Easy Way! appeared first on The World Is an Oyster.
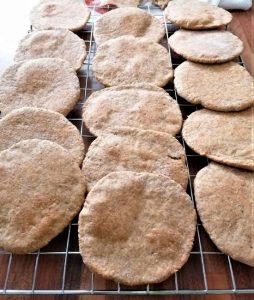
]]>Baked Greek Pita Bread
There is no more straightforward recipe to bake nor yummier than pita bread! With origins going back to the Middle East’s first farming settlements, pita can be considered a prehistoric bread type.
Our ancestors used to bake this flatbread directly on the fire. Later, the stone ovens came into use. Today, we bake it in the oven or fry it in little oil, depending on how much time and effort we invest into preparing pitas.
In time, the method has changed, as has the name. Apparently, as its use spread through the Mediterranean, it became pizza in Italy.
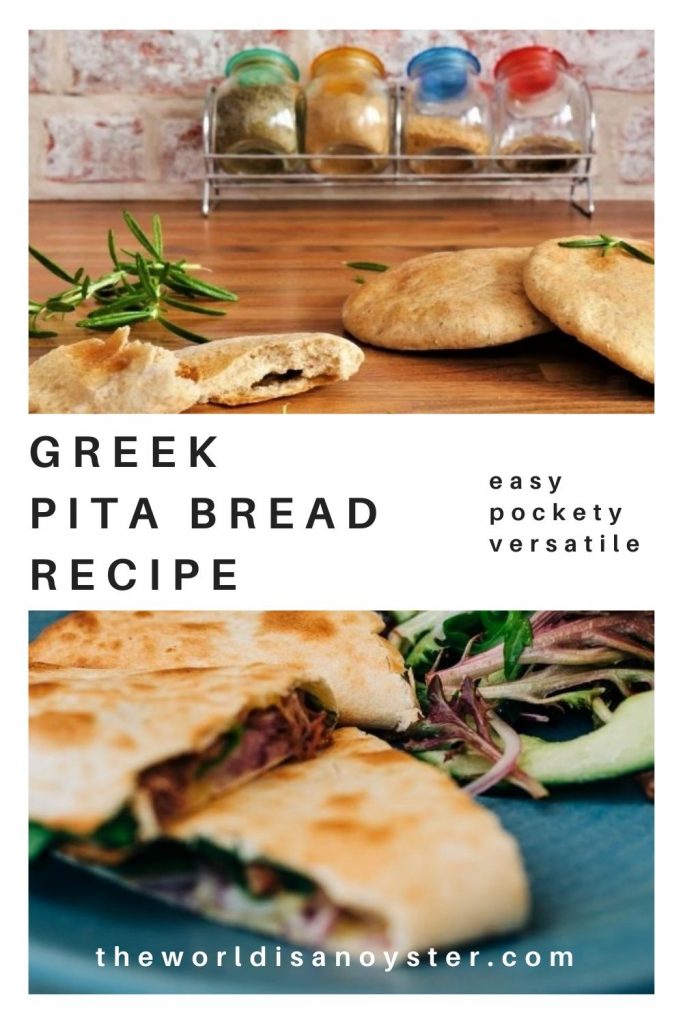
I always associate pita with Greek meals, perhaps because I always had it on the table with any meal I ordered in my travels to the fabulous country of ancient mythology. I had it with moussaka and hummus, Greek salad and tzatziki, baked peppers, and you name it! It goes with everything, from appetisers to mains.
At our house, we bake pitta bread nearly every other weekend. I get a hand from a very enthusiastic little helper who is the main beneficiary of the product as well, in the form of school box sandwiches. Sliced bread is so out of fashion; it does not even have pockets! Good enough rationale to get us boxing the dough!
The truth is, pita is so yummy, easy and fun to make and versatile that it would be a shame not to bake it at home. Besides, it is much better than the packed pittas you can buy in supermarkets since you know exactly what you used to make it.
Before you get started, a few facts about flour:
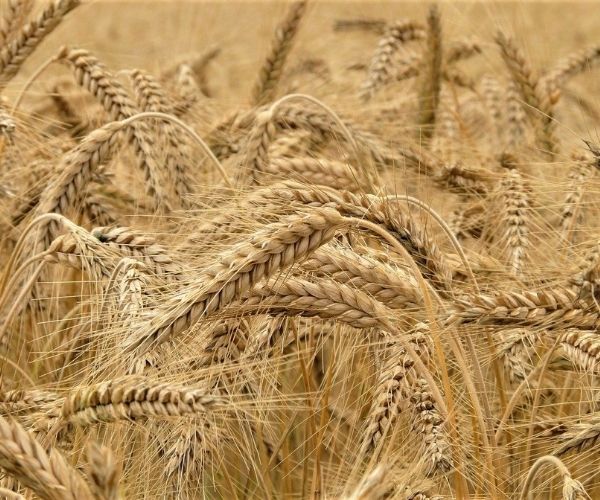
- Humans have milled it for tens of thousands of years.
- The oldest type of wheat is einkorn (“single grain” in German)
- It is NOT white; the flour goes through a bleaching process (with chlorine gas or benzoyl peroxide) to become white.
- It is high in carbohydrates (approximately 76g/100g flour), therefore a no-no for Keto diets.
- The main difference between refined and unrefined grains is that the more flour is processed, the easier it is metabolised into glucose in your body, meaning it transforms in sugar (blood sugar).
- Hemp flour is the lowest in carbs (1.4g/100g) and highest in fibres (47g/100g), pumpkin seed flour is the highest in proteins (54g/100g) but also the most caloric flour (427kcal/100g).
- Almond or coconut flour are great healthy substitutes in baking. Still, they are highly absorbent, so you will need to adjust the quantities of liquid ingredients and also the raising agents you use in the recipe.
Ingredients for Greek pita bread:
Flour (I mix organic spelt and white in equal quantities)
Tepid water
Dried yeast
Olive oil
A pinch of salt
I like to keep things healthy, so I do not add any sugar at all, even though some prefer it.
Optional:
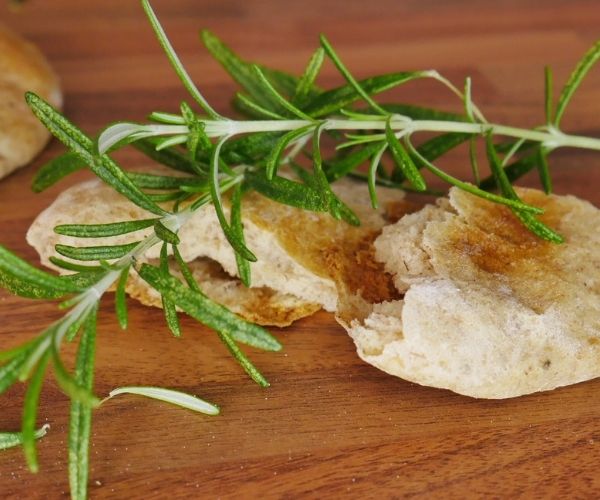
Finely chopped rosemary
Chia seeds
Honestly, I stopped following the quantities long ago. With time and practice, you will know what consistency you need for the dough and add the ingredients as you need them.
Instructions:
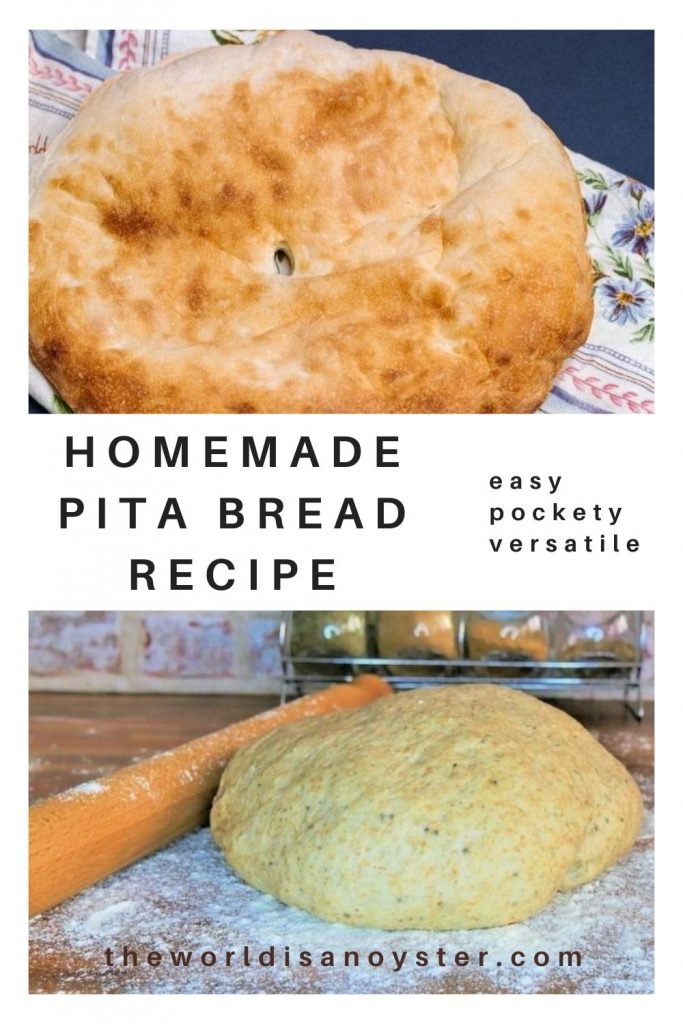
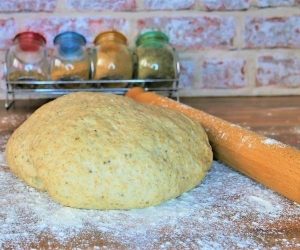
First, prepare a pre-dough – similar to biga for Italian ciabatta. Mix the yeast with some white flour, add the tepid water and let it rest for about half an hour until it raises.
Next, add the rest of the flour, salt and oil (plus the optionals) and mix well. The dough will be sticky, but resist adding too much flour to manage it easier. It is better to oil your hands instead and keep the dough soft and elastic. Let it rise again for another half an hour to an hour.
Preheat the oven at 190-200°C.
Place baking paper on the tray(s).
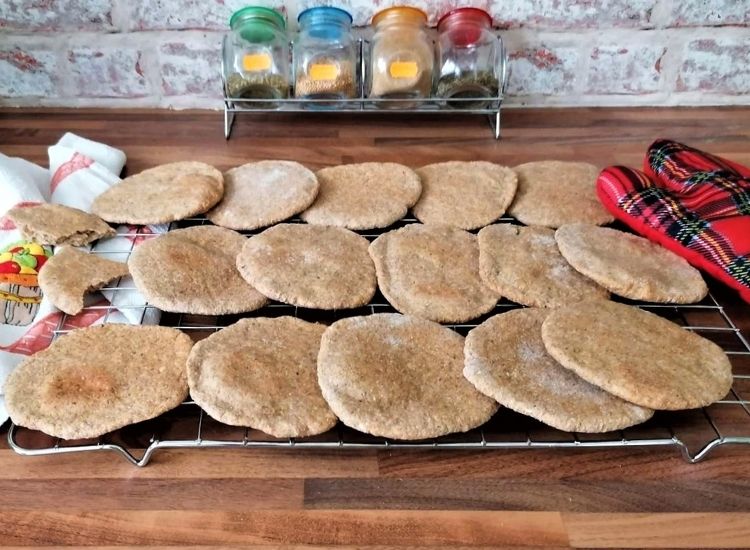
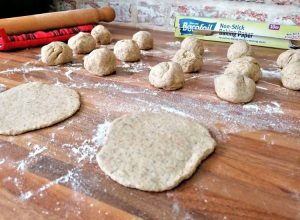
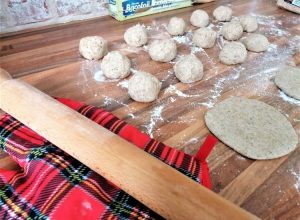
Spread some white flour onto the working top and divide the dough into small spheres. Usually, I get about twelve pitas using the quantities above. This can and will vary, depending on how big or small you want them.
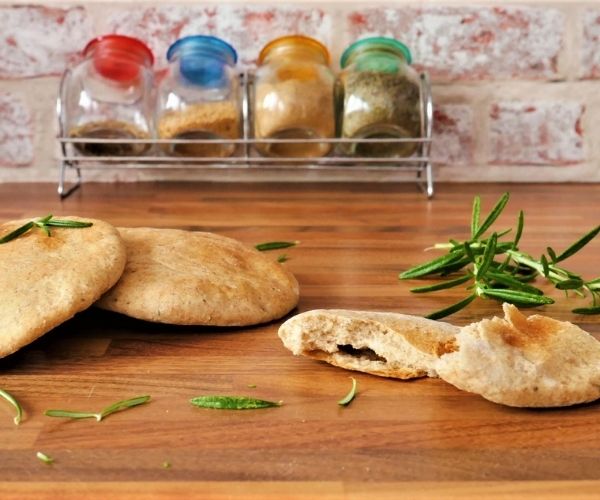
Using a floured roller pin, make round (-ish) forms of each dough ball, about half a centimetre thick. They will rise at a high temperature and form a pocket that makes pita bread perfect for filling with whatever you desire and making sandwiches.
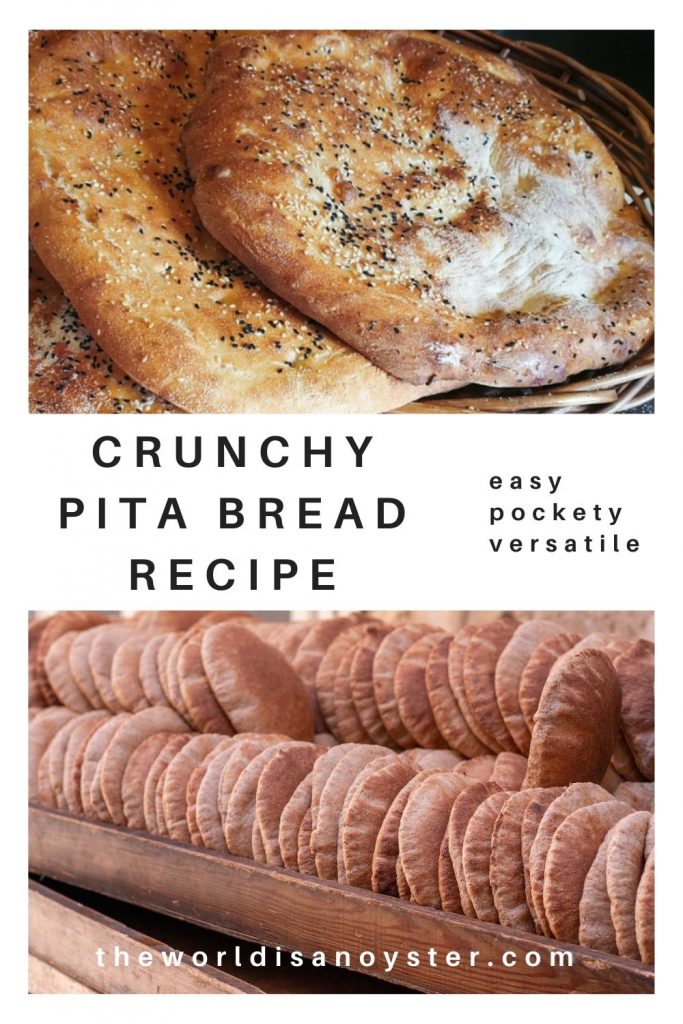
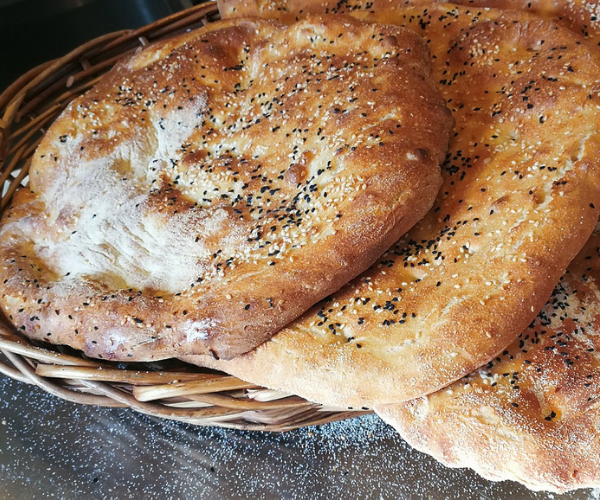
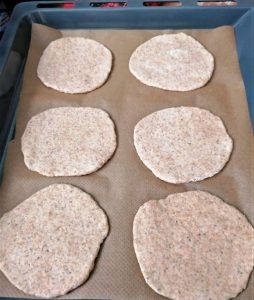
Place the pitas distanced on the tray and bake for about ten minutes. Pita bread bakes quickly and at high temperature; watch they don’t burn!
If the colour changes slightly (it does not have to become dark brown!), it means they should be ready. You can break one to check, but have mercy on your fingers and not injure yourself!
Let the pitas cool before use.
Our first tray always disappears miraculously the minute the pitas cool a little, even if the intention is to freeze them for future use.
Frozen, they last for two to three months, if they last this long (it does not happen at our house!)
Any leftovers? Here are plenty of ideas for how to make good use of them.
I hope you enjoyed reading; now it’s time to start baking your Greek pita bread!
Bon appetite!
Pita Bread
Ingredients
- 250 g white flour
- 250 g spelt flour
- 300 ml water tepid
- 2 tsp dried yeast
- 3 tbsp olive oil extra virgin
- a pinch of salt (rock/sea)
- 1 tbsp chia seeds optional
- 1 tbsp chopped rosemary optional
Instructions
- Mix the dried yeast with some white flour, add the tepid water and let it rest for about half an hour until it raises.
- Add the rest of the flour, salt, oil and the optionals and mix well. The dough will be sticky, but resist adding too much flour to manage it easier. It is better to oil your hands instead and keep the dough soft and elastic.
- Let the dough rest again for another half an hour to an hour.
- Preheat the oven to 190°C/374°F/gas mark 5. Place parchment paper on a baking tray.
- When the dough has raised, spread some white flour on the worktop and divide the dough into small spheres.
- Flour the roller pin and flatten the balls into 1 cm thick round shapes. The pitas will raise at high temperature forming a pocket that makes them perfect for filling with whatever you desire and making sandwiches.
- Place the pitas distanced on the tray and bake for about ten minutes. I usually bake two trays.
- Pitas bake quickly and at high temperature, so you will have to keep an eye on them to avoid burning. If the colour changes slightly (it does not have to become dark brown!), it means they should be ready.
- Cool before use.
Notes
I hope you enjoyed this recipe. Please share the love by saving it to your baking boards; it will help this blog grow and post more yummy recipes for you to try. Thank you!
Baked Greek Pita Bread
The post Greek Pita Bread. Bake The Fun And Easy Way! appeared first on The World Is an Oyster.
]]>