The post How to Make a Fluffy Easter Bunny Cake appeared first on The World Is an Oyster.
]]>Chocolate and Mascarpone Easter Cake
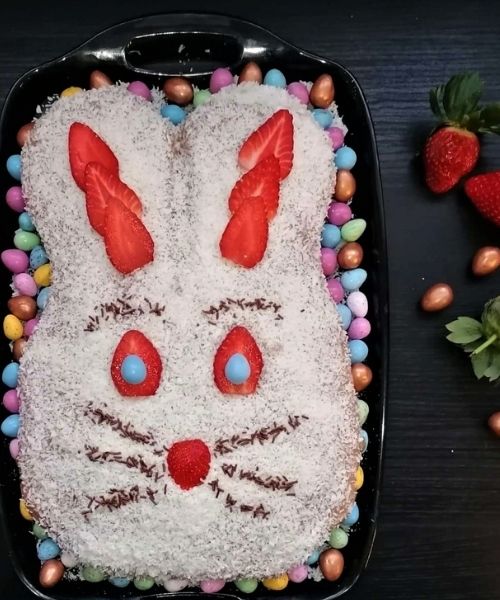
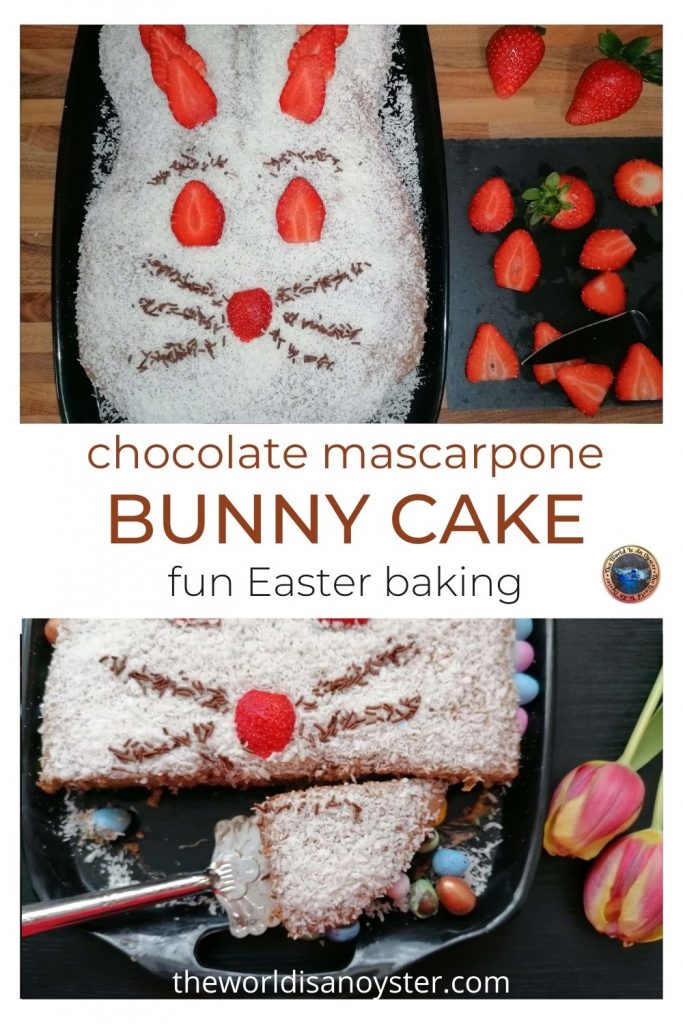
There is great fun for kids of all ages (going up to 45!) to pinch chocolate eggs and cut a chunk of this fluffy looking chocolate and mascarpone Easter bunny cake! I speak from personal experience.
This post may contain affiliate links, which means I will receive a commission if you purchase through my links at no extra cost to you. Please read the full disclosure for more information. Thank you!
For a long time, I searched online for a bunny-shaped cooking mould. As I am a bit picky and hard to impress with the available offers, I decided to ditch wasting time and make my easy shape.
If you have plenty of time to wait for a delivery, have a look at these options:
An A4 paper, a pair of scissors and a rectangular baking mould readily available made for the trouble of ordering online and waiting a couple of days for delivery. Easy, rapid and cheap!
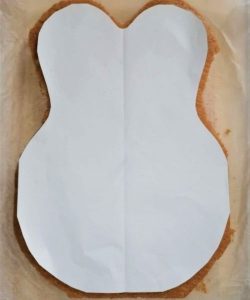
I pulled a sheet from the printer, drew a chunky bunny face and cut around the drawing. I’m no artist, but a steady drawing hand and some degree of imagination proved handy in the endeavour.
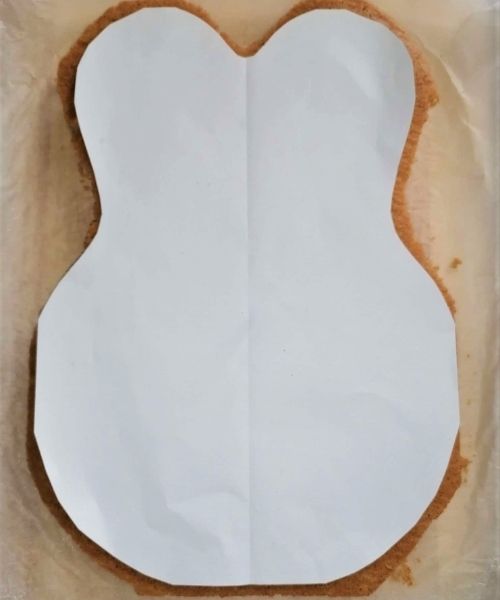
Meanwhile, I had prepared a simple sponge. After it cooled down, I just placed the cut shape on top and cut the sponge around the paper. Voila! My cake idea looked like a fun and festive little cutie!
This chocolate and mascarpone Easter bunny cake created on a Saturday turned out incredibly successful at our house. The recipe is tried and tested. If you are thinking to give it a go, add a few things to your shopping list and start cutting any shape you want.
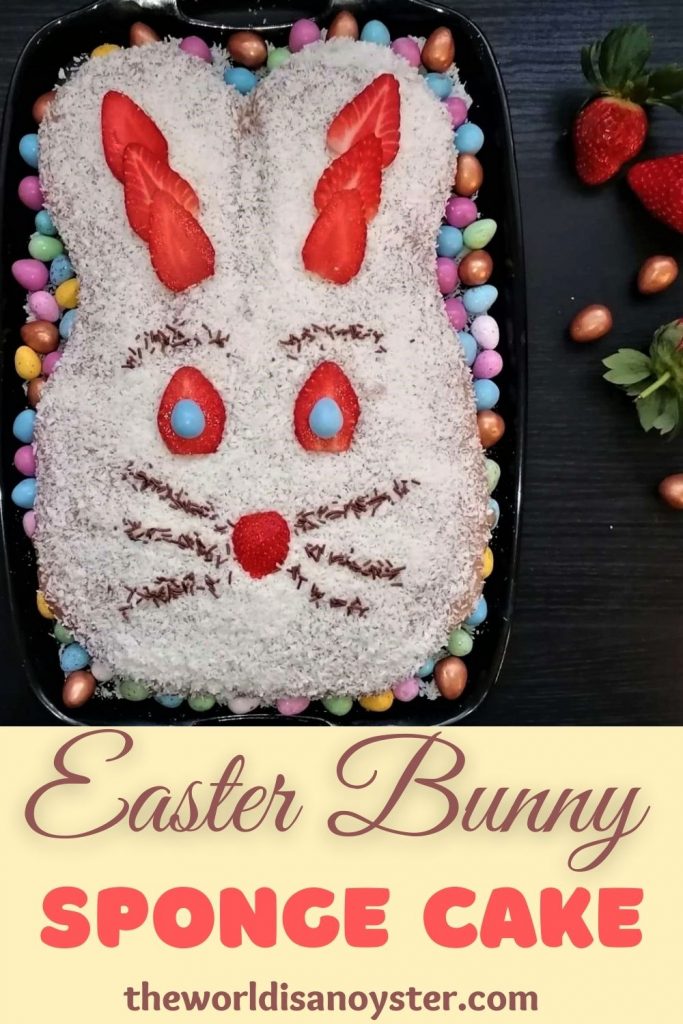
As we got closer to Easter, a bunny was the obvious choice. A chick would have been a tad difficult because of skinny legs, but a massive egg shape would have worked just as great!
This fluffy mascarpone and chocolate cake would not necessarily be categorised as a traditional Easter cake, but it surely catches the eye and tantalises the taste buds!
Pasca would be the obvious choice for a more traditional recipe. Or you could find further inspiration in this Easter round-up of recipes from around the world. Whatever you choose to make, it is essential to have fun and enjoy!
Ingredients for Easter bunny cake
For the sponge:
Eggs
Organic white flour
Organic coconut sugar
Tepid water
Orange zest (chose organic, pesticide and wax-free oranges)
Baking powder
A pinch of salt
For the filling:
Mascarpone cheese (drained)
A sachet of vanilla pudding (can be purchased online)
Unsweetened almond milk
Organic coconut sugar
Cacao
Potato/corn starch (or flour)
A pinch of salt
Flavours (I used rum)
Whipped cream (optional)
To decorate
Shredded coconut
Strawberries (we’re out of season, and I could not find organic; the conventional ones were utterly tasteless, and we discarded them, but they got points for aesthetics.)
Chocolate strands
All sorts of tiny chocolate eggs
Pair your slice of sponge cake with a steamy cup of cappuccino, and your day will instantly look a lot brighter.
There is no way in the world a chocolate and mascarpone sponge cake would not wow, so have a go at it. Be creative, have fun in the process and enjoy the result. I vouch for yumminess!

Fluffy Easter Bunny Mascarpone and Chocolate Cake
Ingredients
Sponge
- 6 pcs eggs
- 6 tbsp organic white flour approx 200 g
- 1 tsp baking powder
- 6 tbsp organic coconut sugar approx 160 g
- 1 tsp orange zest organic
- 6 tbsp tepid water approx 60 ml
- 1 pinch salt rock/sea
Filling
- 250 g mascarpone cheese
- 1 sachet vanilla pudding I used Dr Oetker Original
- 1 tbsp potato/corn starch or white flour
- 2 tbsp cacao powder organic
- 500 ml almond milk unsweetened
- 180 ml whipping cream optional
- 6 tbsp coconut sugar organic
- 1 pinch salt
- flavours
Decoration
- 60 g shredded coconut
- 3-4 pcs strawberries
- chocolate strands
- chocolate eggs
Instructions
Sponge
- Preheat the oven to 180°C/356°F/gas mark 4.
- Place parchment paper on a rectangular baking tray. Mine measures 34/24 cm. If you use a larger tray, you might want to increase the quantities but keep the ratio.
- The key to a beautiful, fluffy sponge is the rule of 1, which translates into 1 egg/1 tablespoon of flour/1 tablespoon of sugar ratio. Depending on the egg's size and the type of flour, you might need extra, this is why I allowed 200 g flour, but I did not need the entire quantity. In general, I use less sugar than required, but this is a matter of taste.
- In a bowl, whisk the egg whites with a pinch of salt until stiff, then leave aside.
- In a different bowl (larger), whisk the egg yolks with sugar, orange zest and salt until the volume doubles. Add the tepid water gradually and keep whisking, preferably with an electric hand mixer.
- Add the egg whites and mix carefully using a large spatula in a circular motion, from the bottom of the bowl to the top.
- Gradually add the sieved flour together with the baking powder. Keep mixing carefully until the consistency is that of a dense cream. You might not need all the flour if enough has been absorbed to confer the desired consistency.
- Pour the entire content into the baking tray. It is essential to level the batter evenly. I do this by gently slamming the tray to the worktop a few times. When happy with the result, bake for 25-30 minutes. Do not open the oven's door for the first 20 minutes!
- My oven bakes quickly, so I usually reduce the temperature to 170°C as I place the tray inside.
- Perform the toothpick test to check the sponge is thoroughly baked; if needed, allow extra baking time.
- When ready, remove from the tray, flip upside-down on a cooling rake, and cool completely before cutting around the paper shape and dividing the sponge horizontally.
Cream filling
- Start by preparing the vanilla pudding by following the sachet's instructions: mix the powder with 4 tablespoons of sugar and 4 tablespoons of milk. Additionally, add 1 tbsp of starch/flour and 2 tbsp of cacao powder). You might need 2-3 extra tbsps of milk.
- Bring the rest of the milk to boil in a pan. Reduce the heat and pour the mix.
- Cook for about three-four minutes until it boils while stirring continuously. The pudding should change consistency reasonably quickly.
- When ready, turn the heat off and allow it to cool completely, then add the flavour of your choice and mix.
- Separately, batter the mascarpone cheese with 2 tablespoons of sugar and a tiny pinch of salt until it becomes fluffy.
- If you choose to use whipped cream, whip it in a separate bowl. Be careful not to spoil it and add it to the mascarpone when ready. Mix until it incorporates evenly.
- Add the boiled and cooled pudding to the composition and mix either using a hand mixer or a spatula. The cream should have a uniform colour and a pretty thick consistency.
Assembling the cake
- Chose the tray/platter for your cake.
- As the sponge is thoroughly cooled and has the desired shape, you can use sweet compote syrup to moisten the sponge. This step is optional. The sponge should absorb enough humidity from the cream while in the fridge to become moist.
- If you need to prepare syrup, boil 6 tablespoons of water with 3 tablespoons of sugar until it thickens slightly. Cool completely before use.
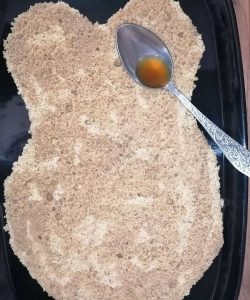
- Place the first sponge layer on the chosen platter, moist slightly and allow a few minutes for the sponge to absorb the syrup.
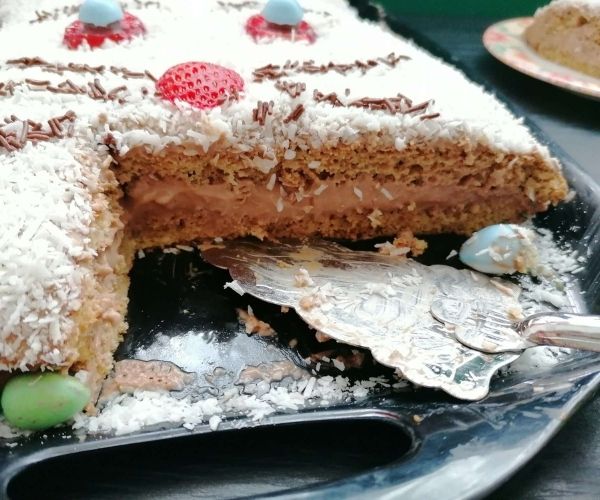
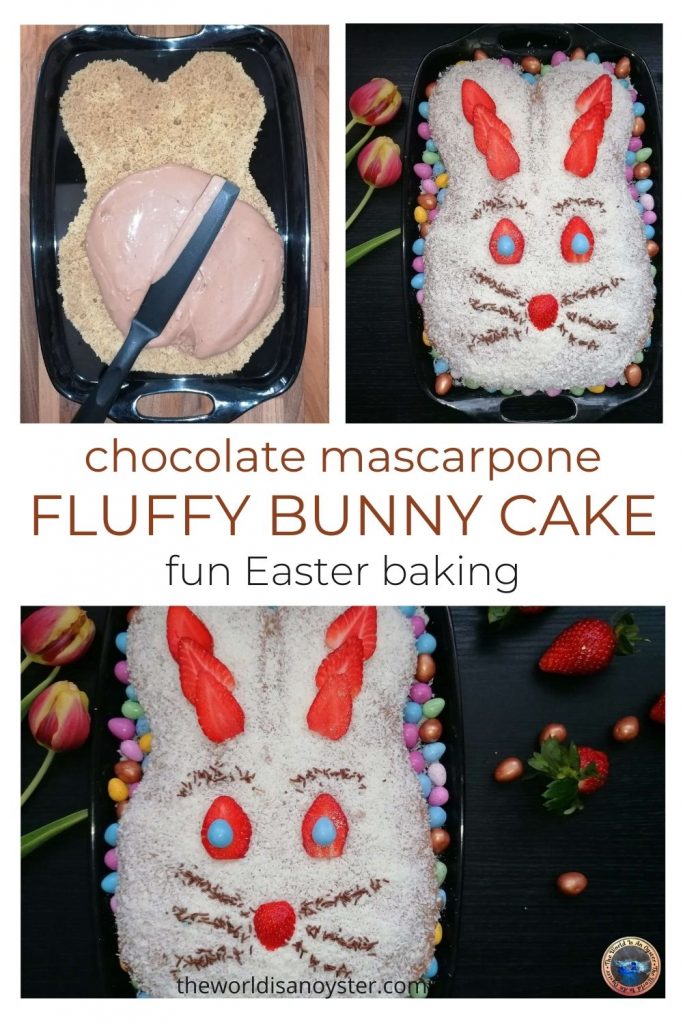
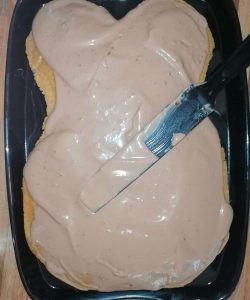
- Add a little more than half the quantity of cream and spread evenly.
- Place the second half of the sponge on top, moisten and cover the top and sides with the remaining cream.
- Sprinkle shredded coconut to cover the entire cake.
- With a dry spatula, press slightly to create an indentation. It will make a 3D impression of bunny ears.
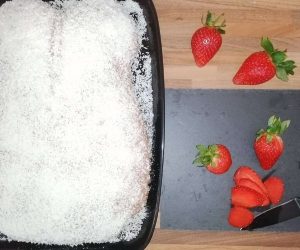
- Decorate as desired and enjoy!
Notes
How to Make a Fluffy Easter Bunny Cake
The post How to Make a Fluffy Easter Bunny Cake appeared first on The World Is an Oyster.
]]>